Curated Home

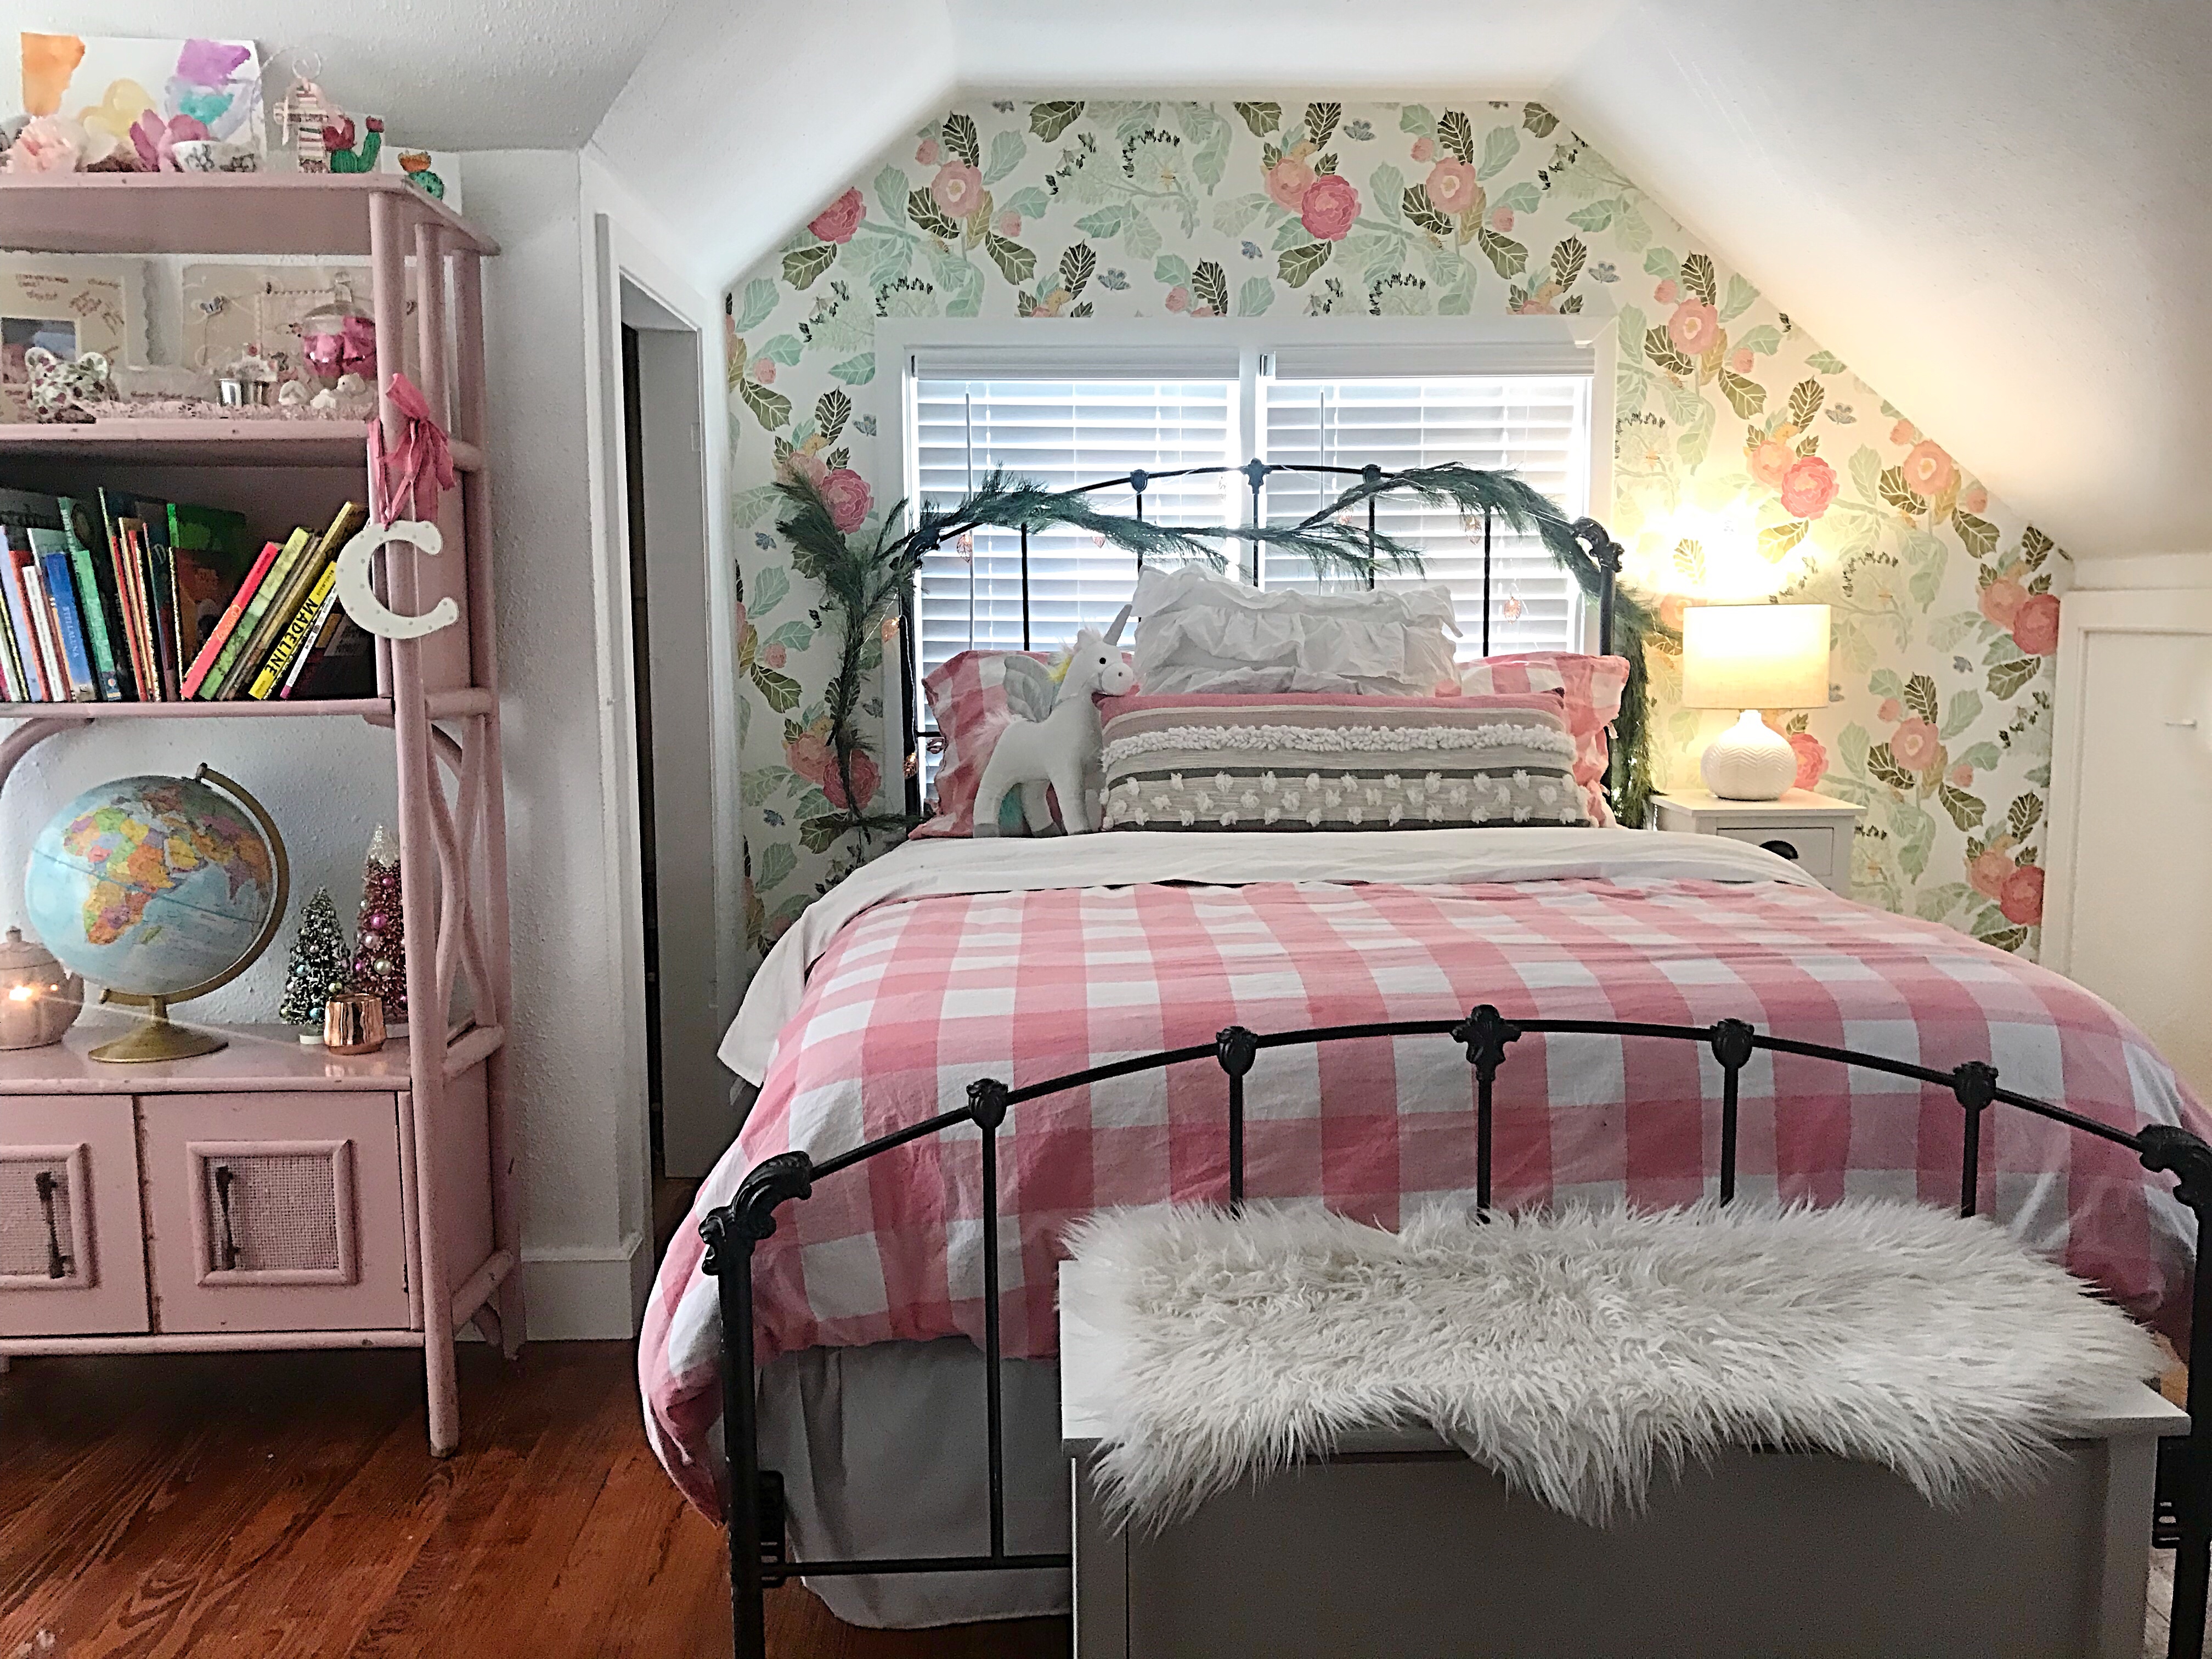
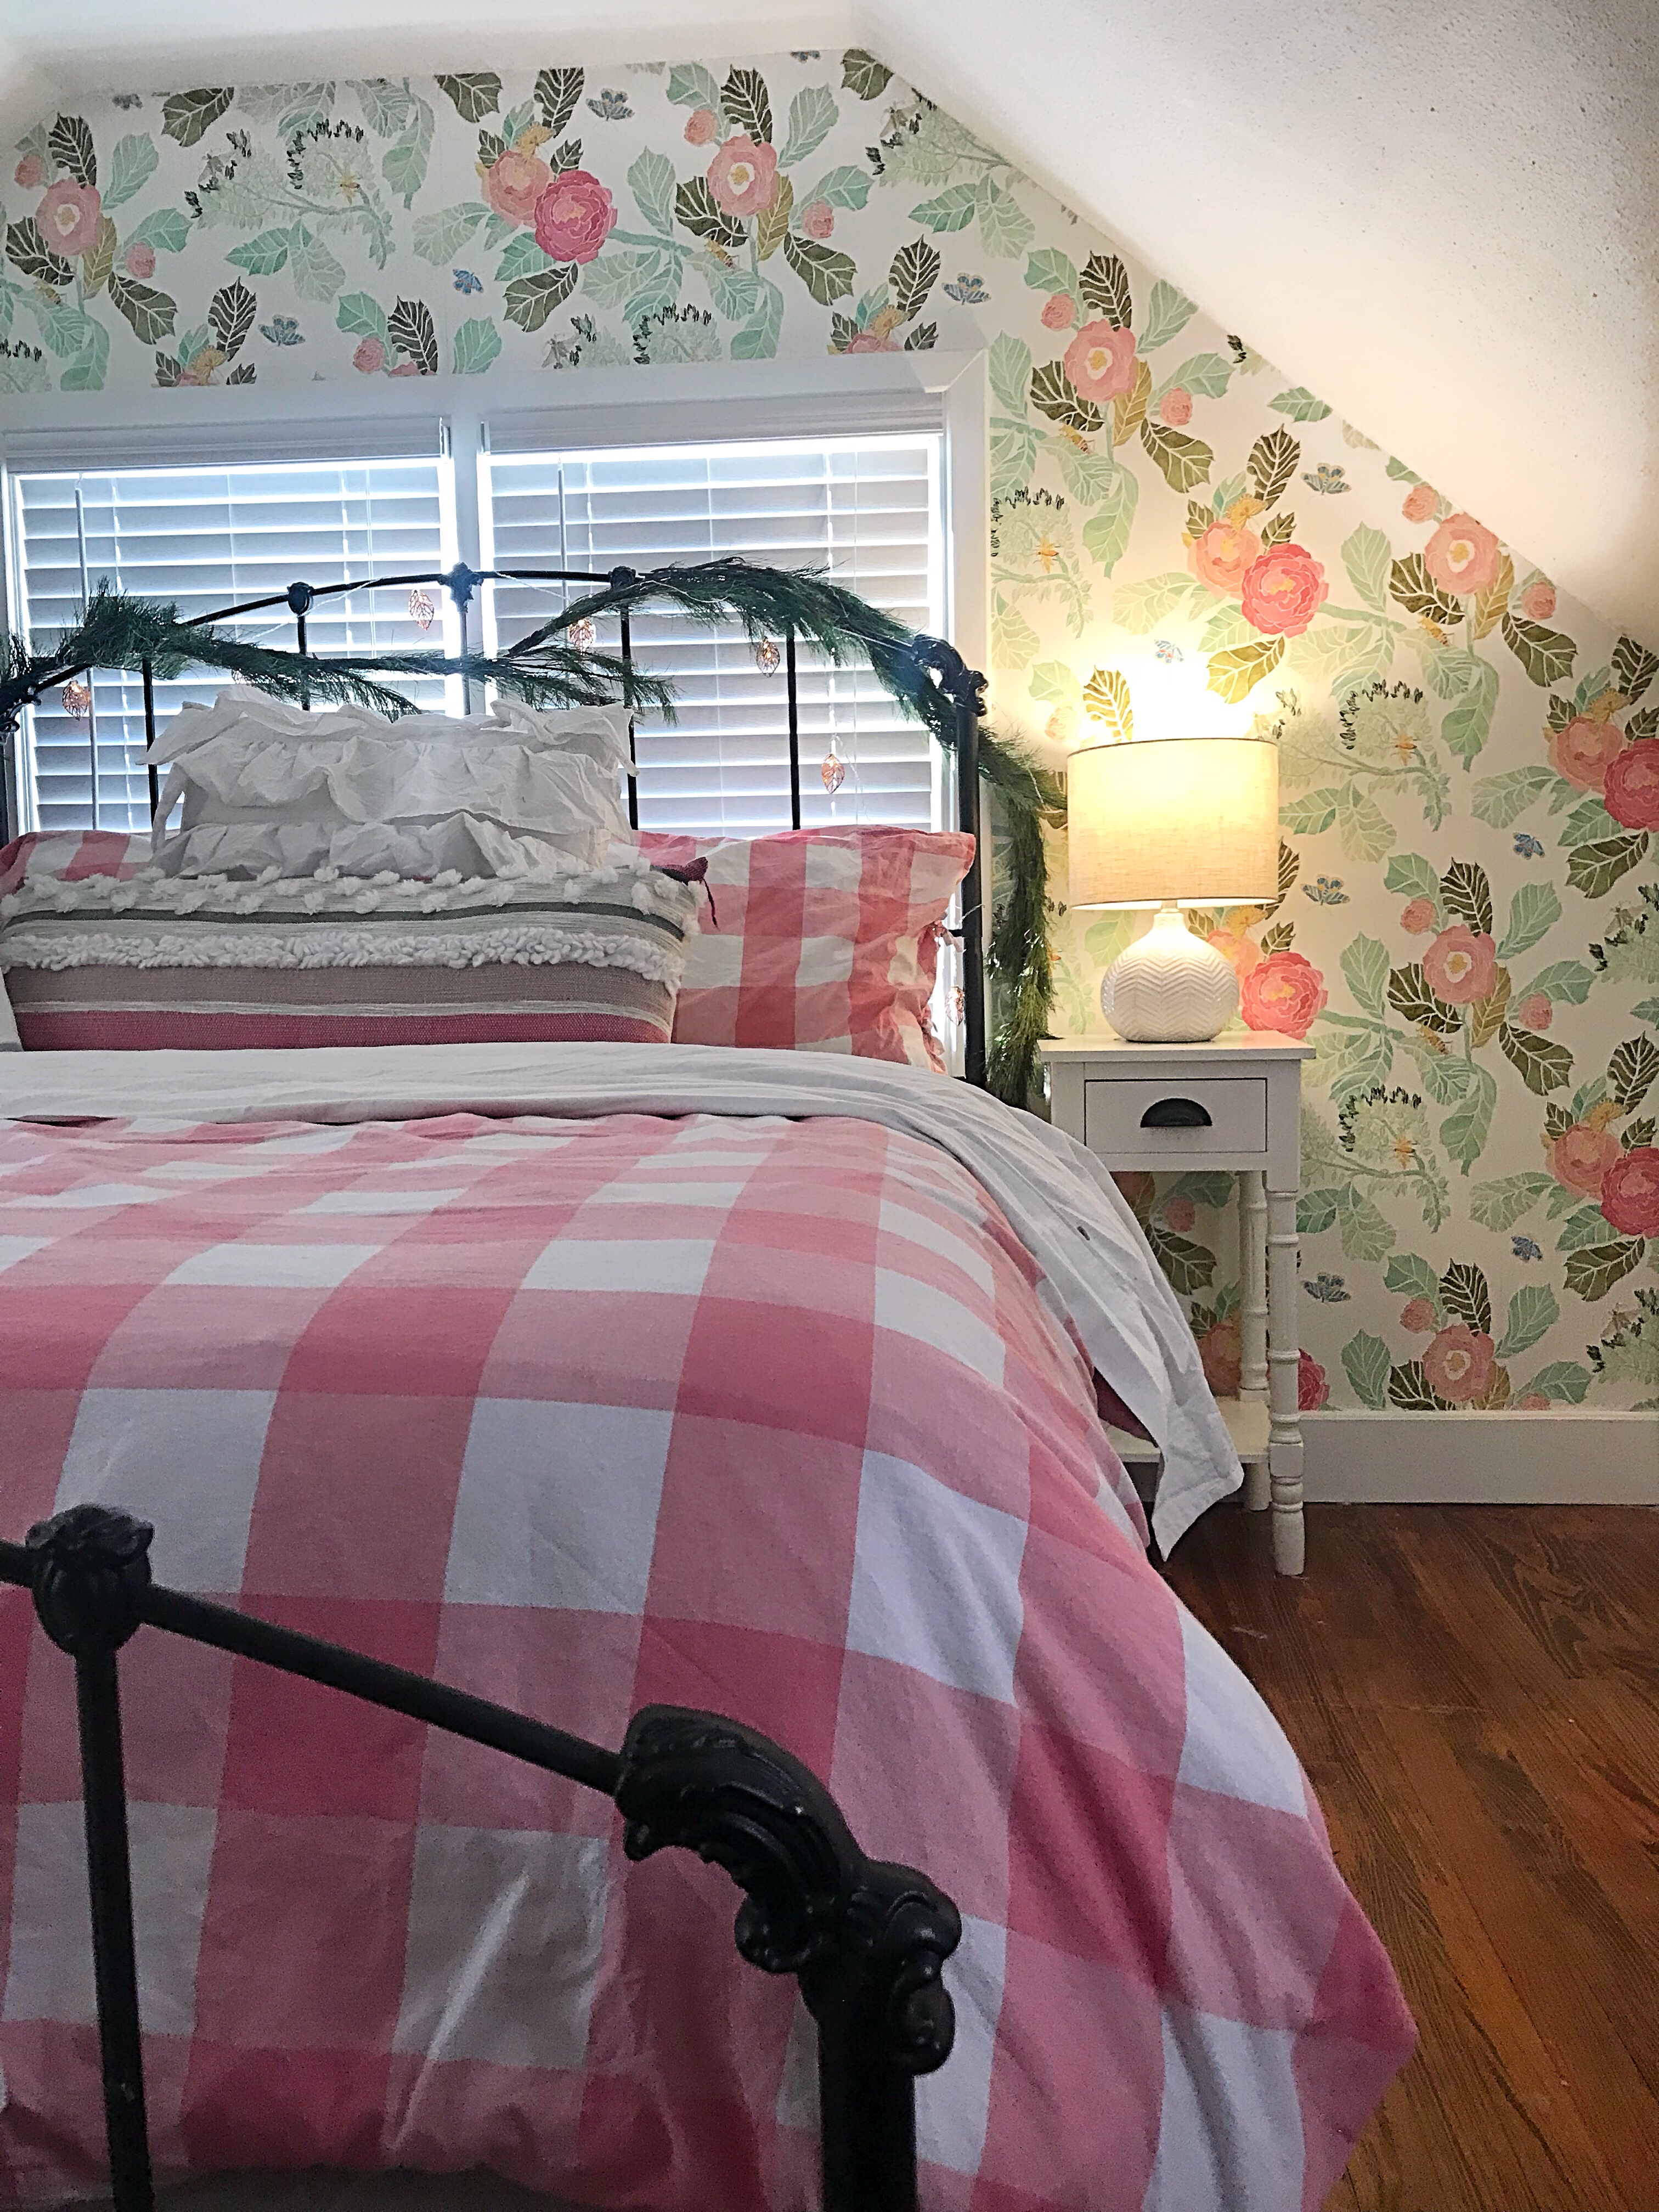
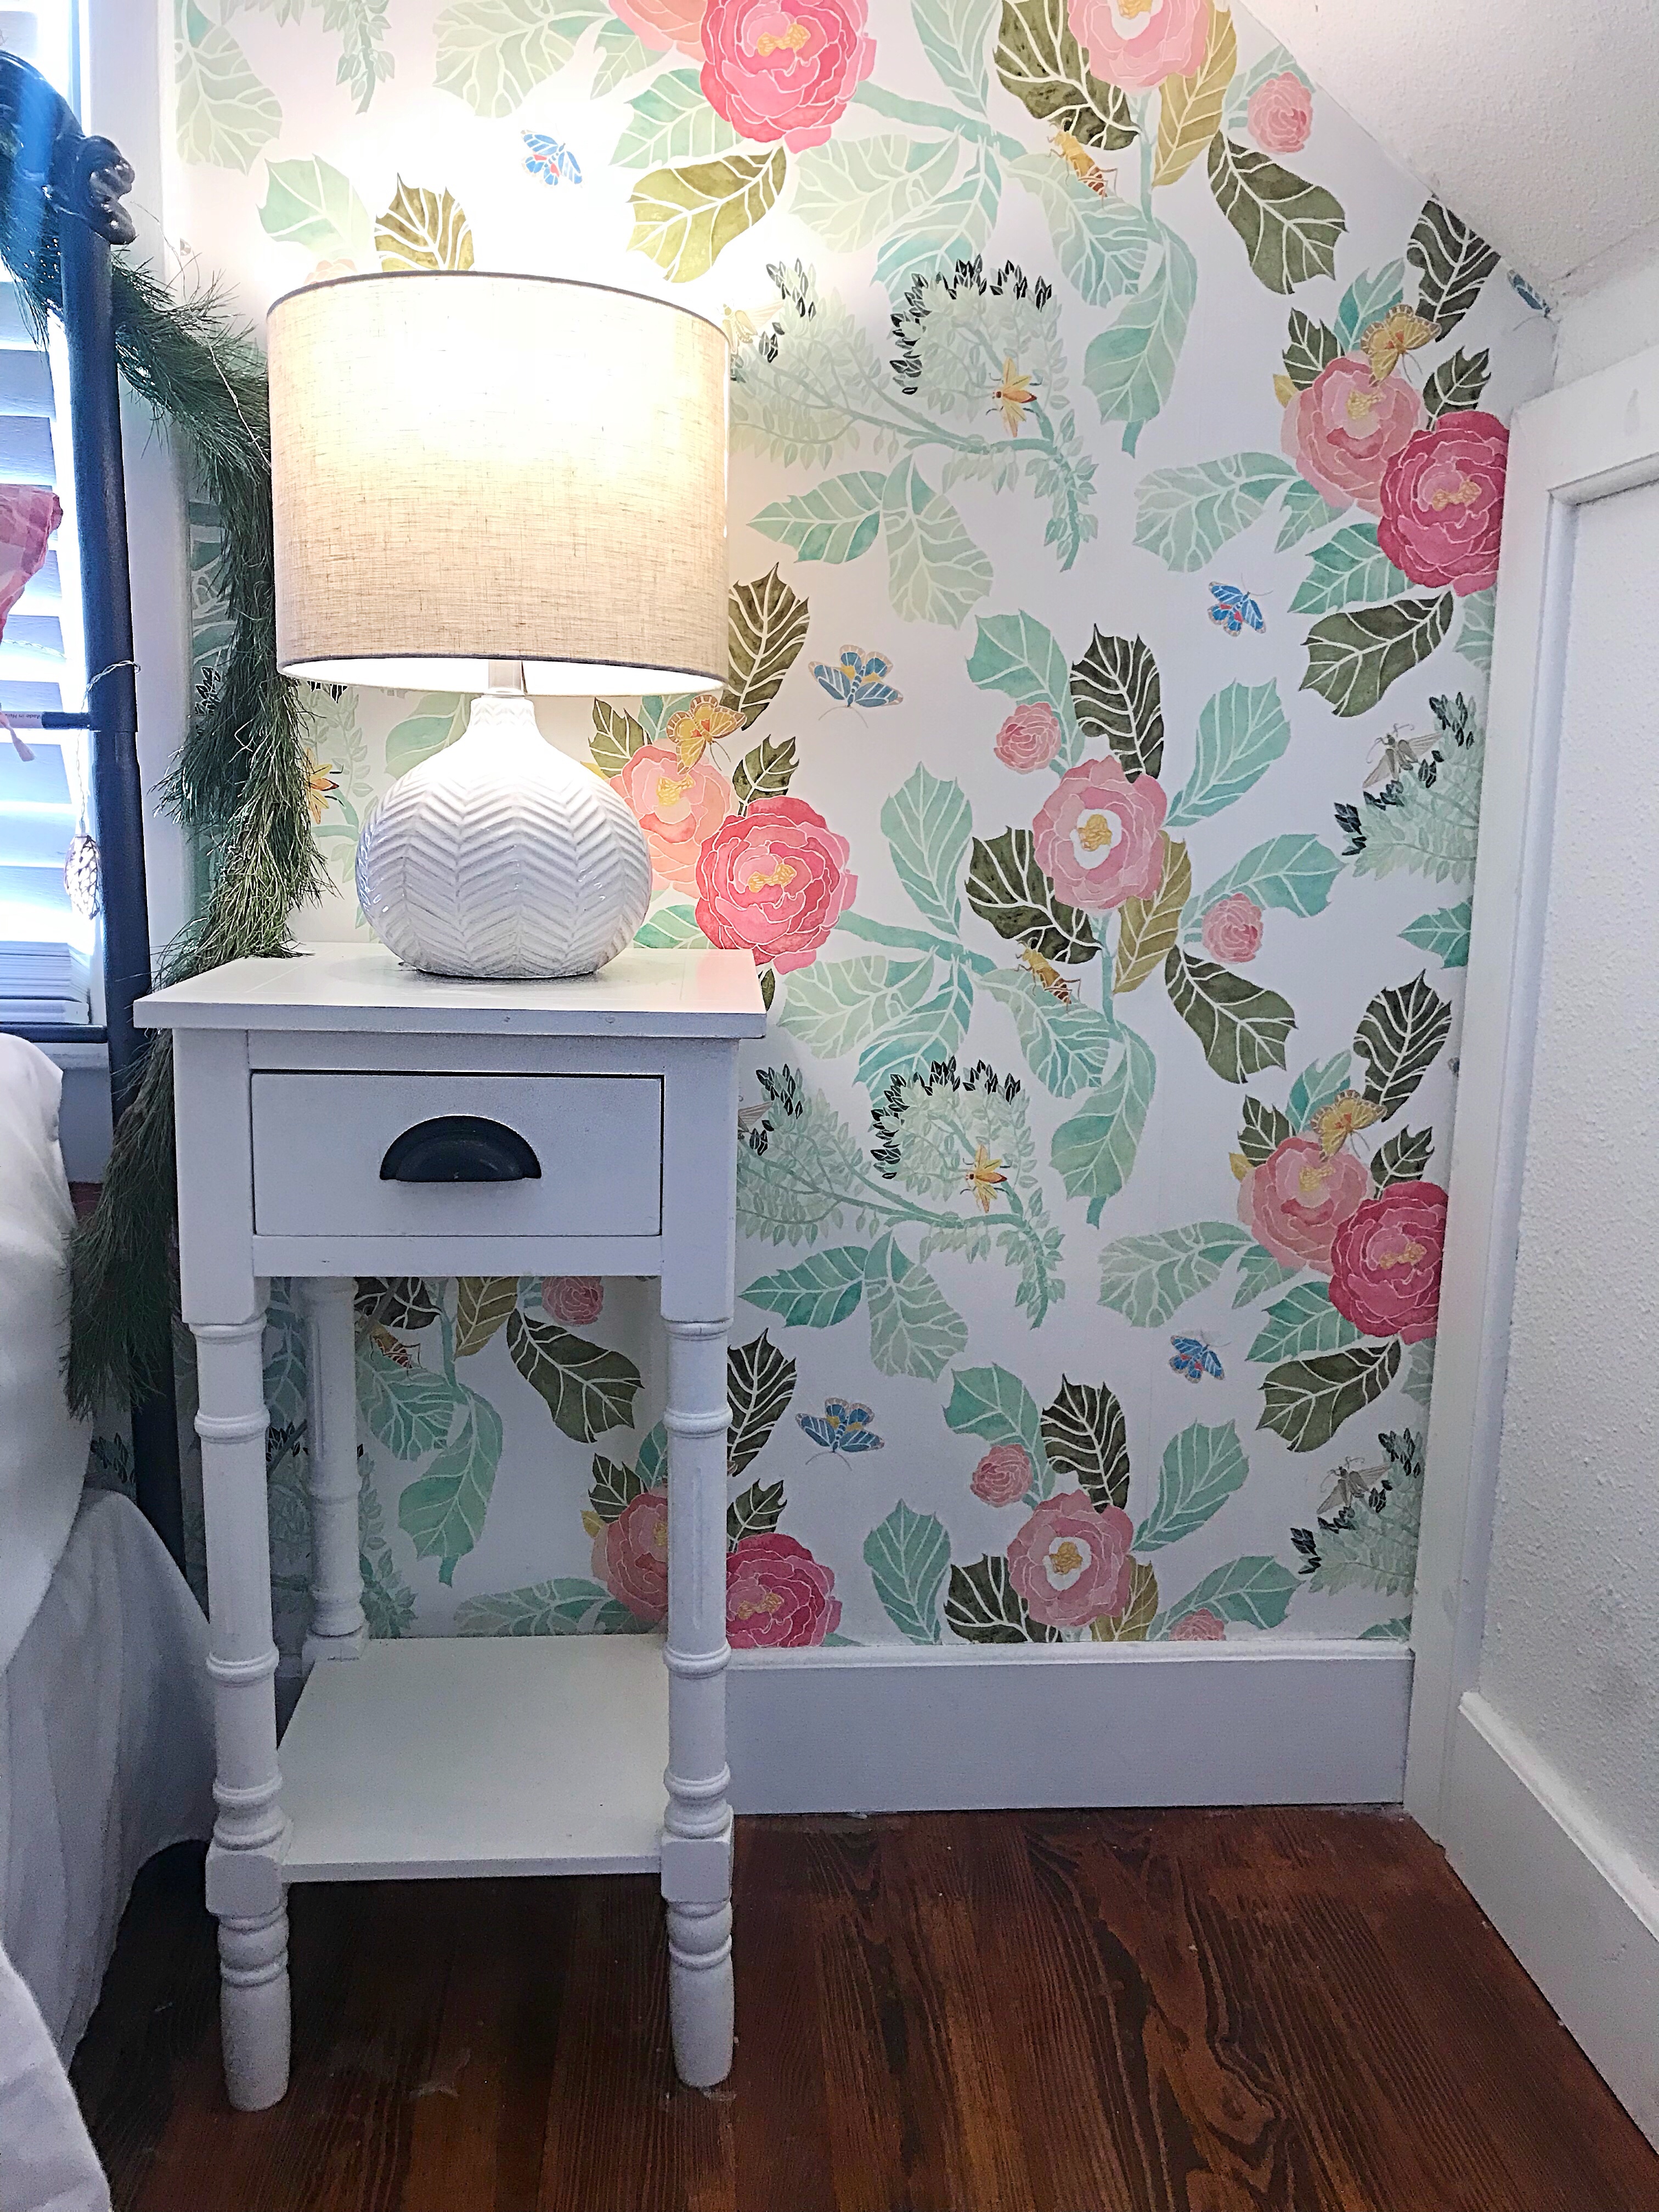
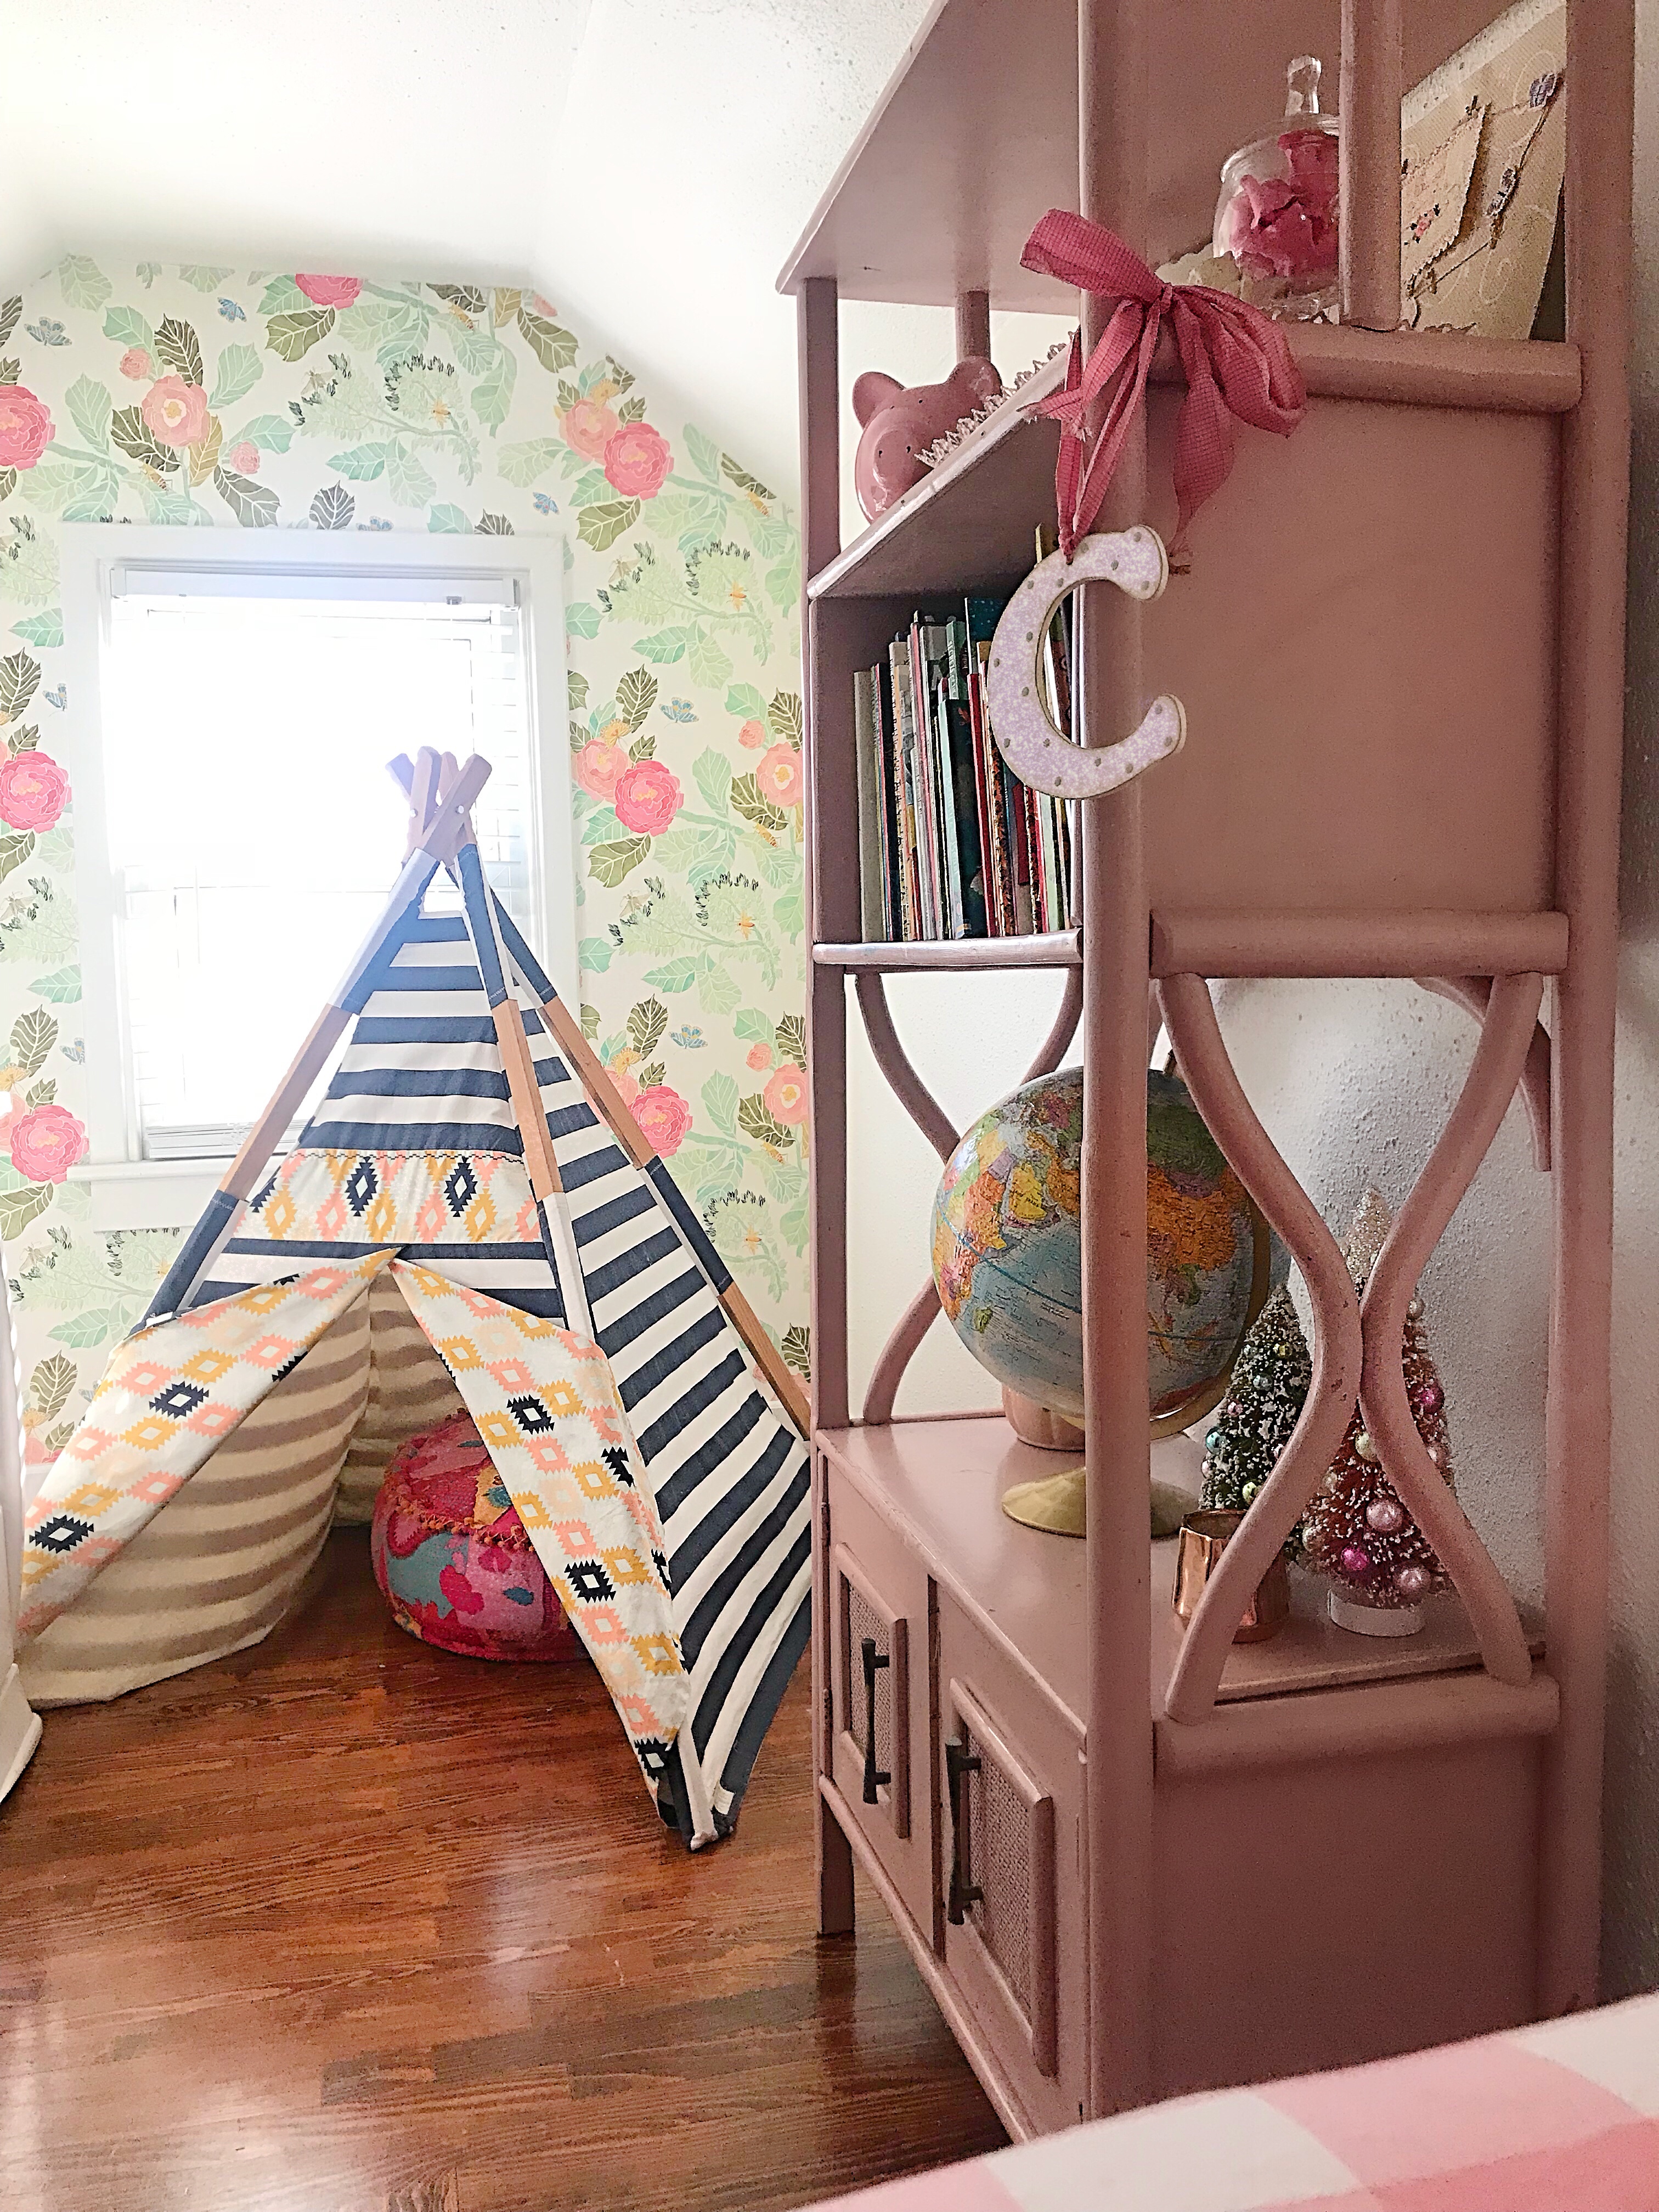
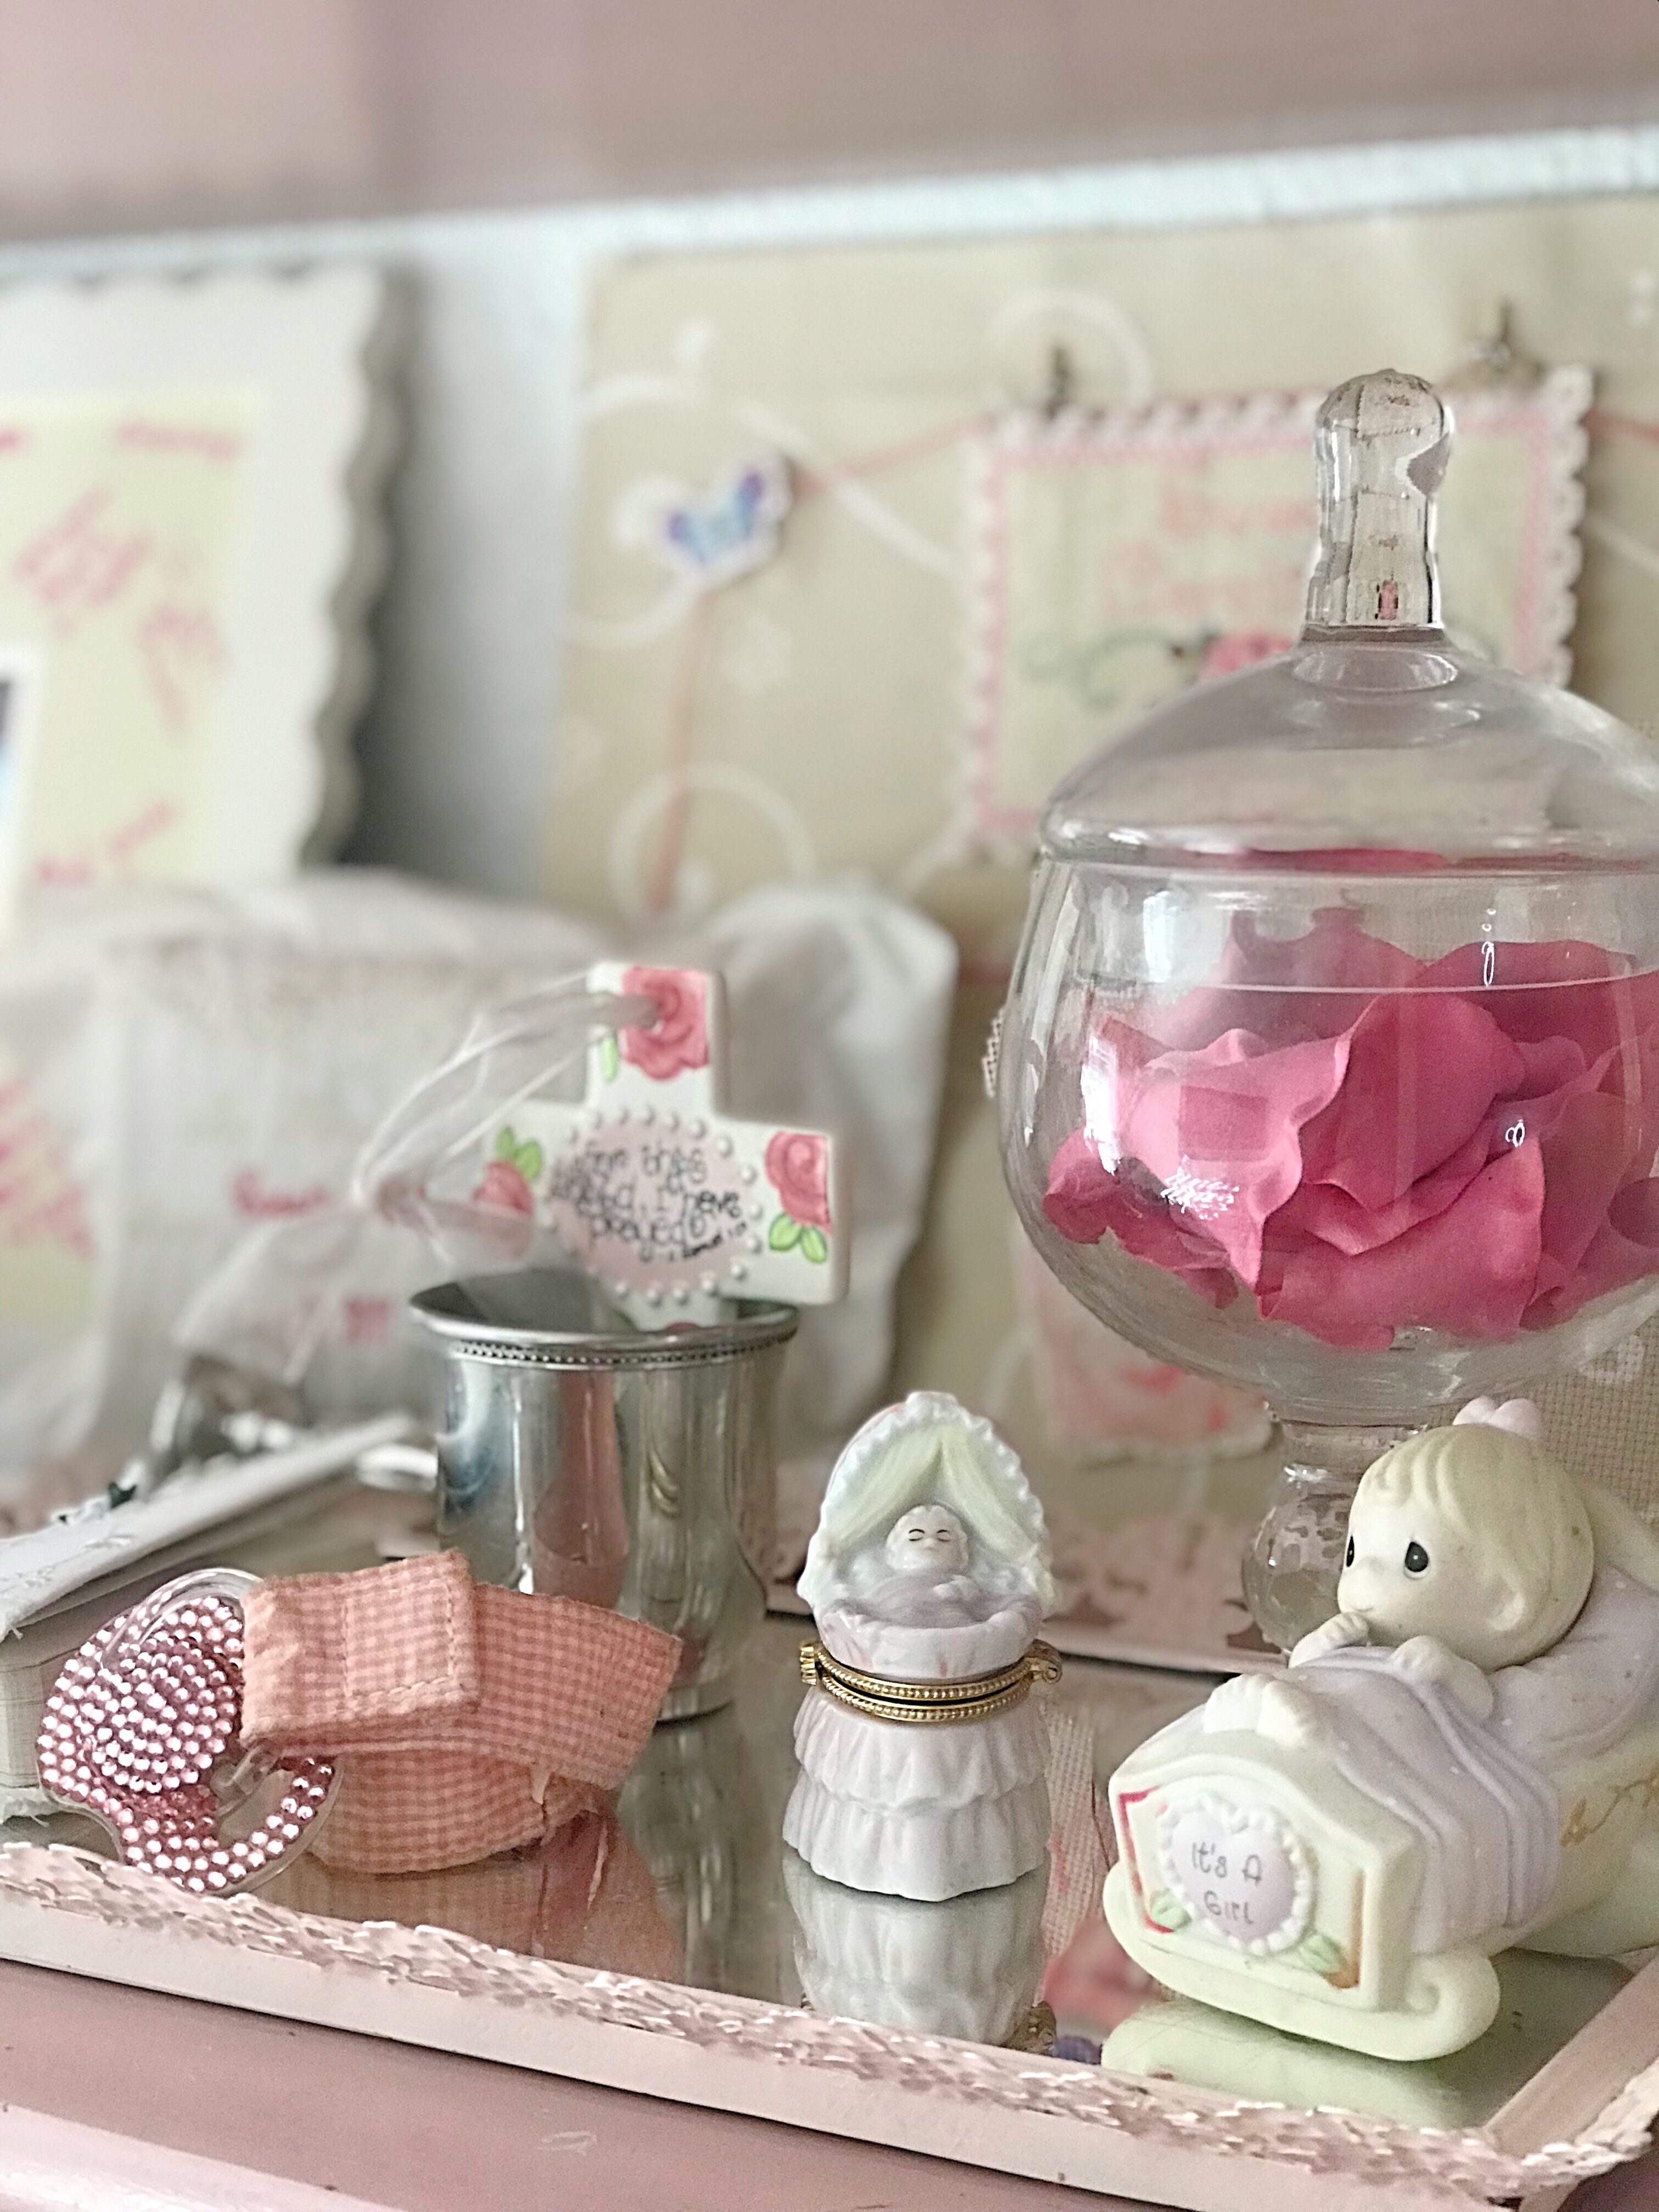
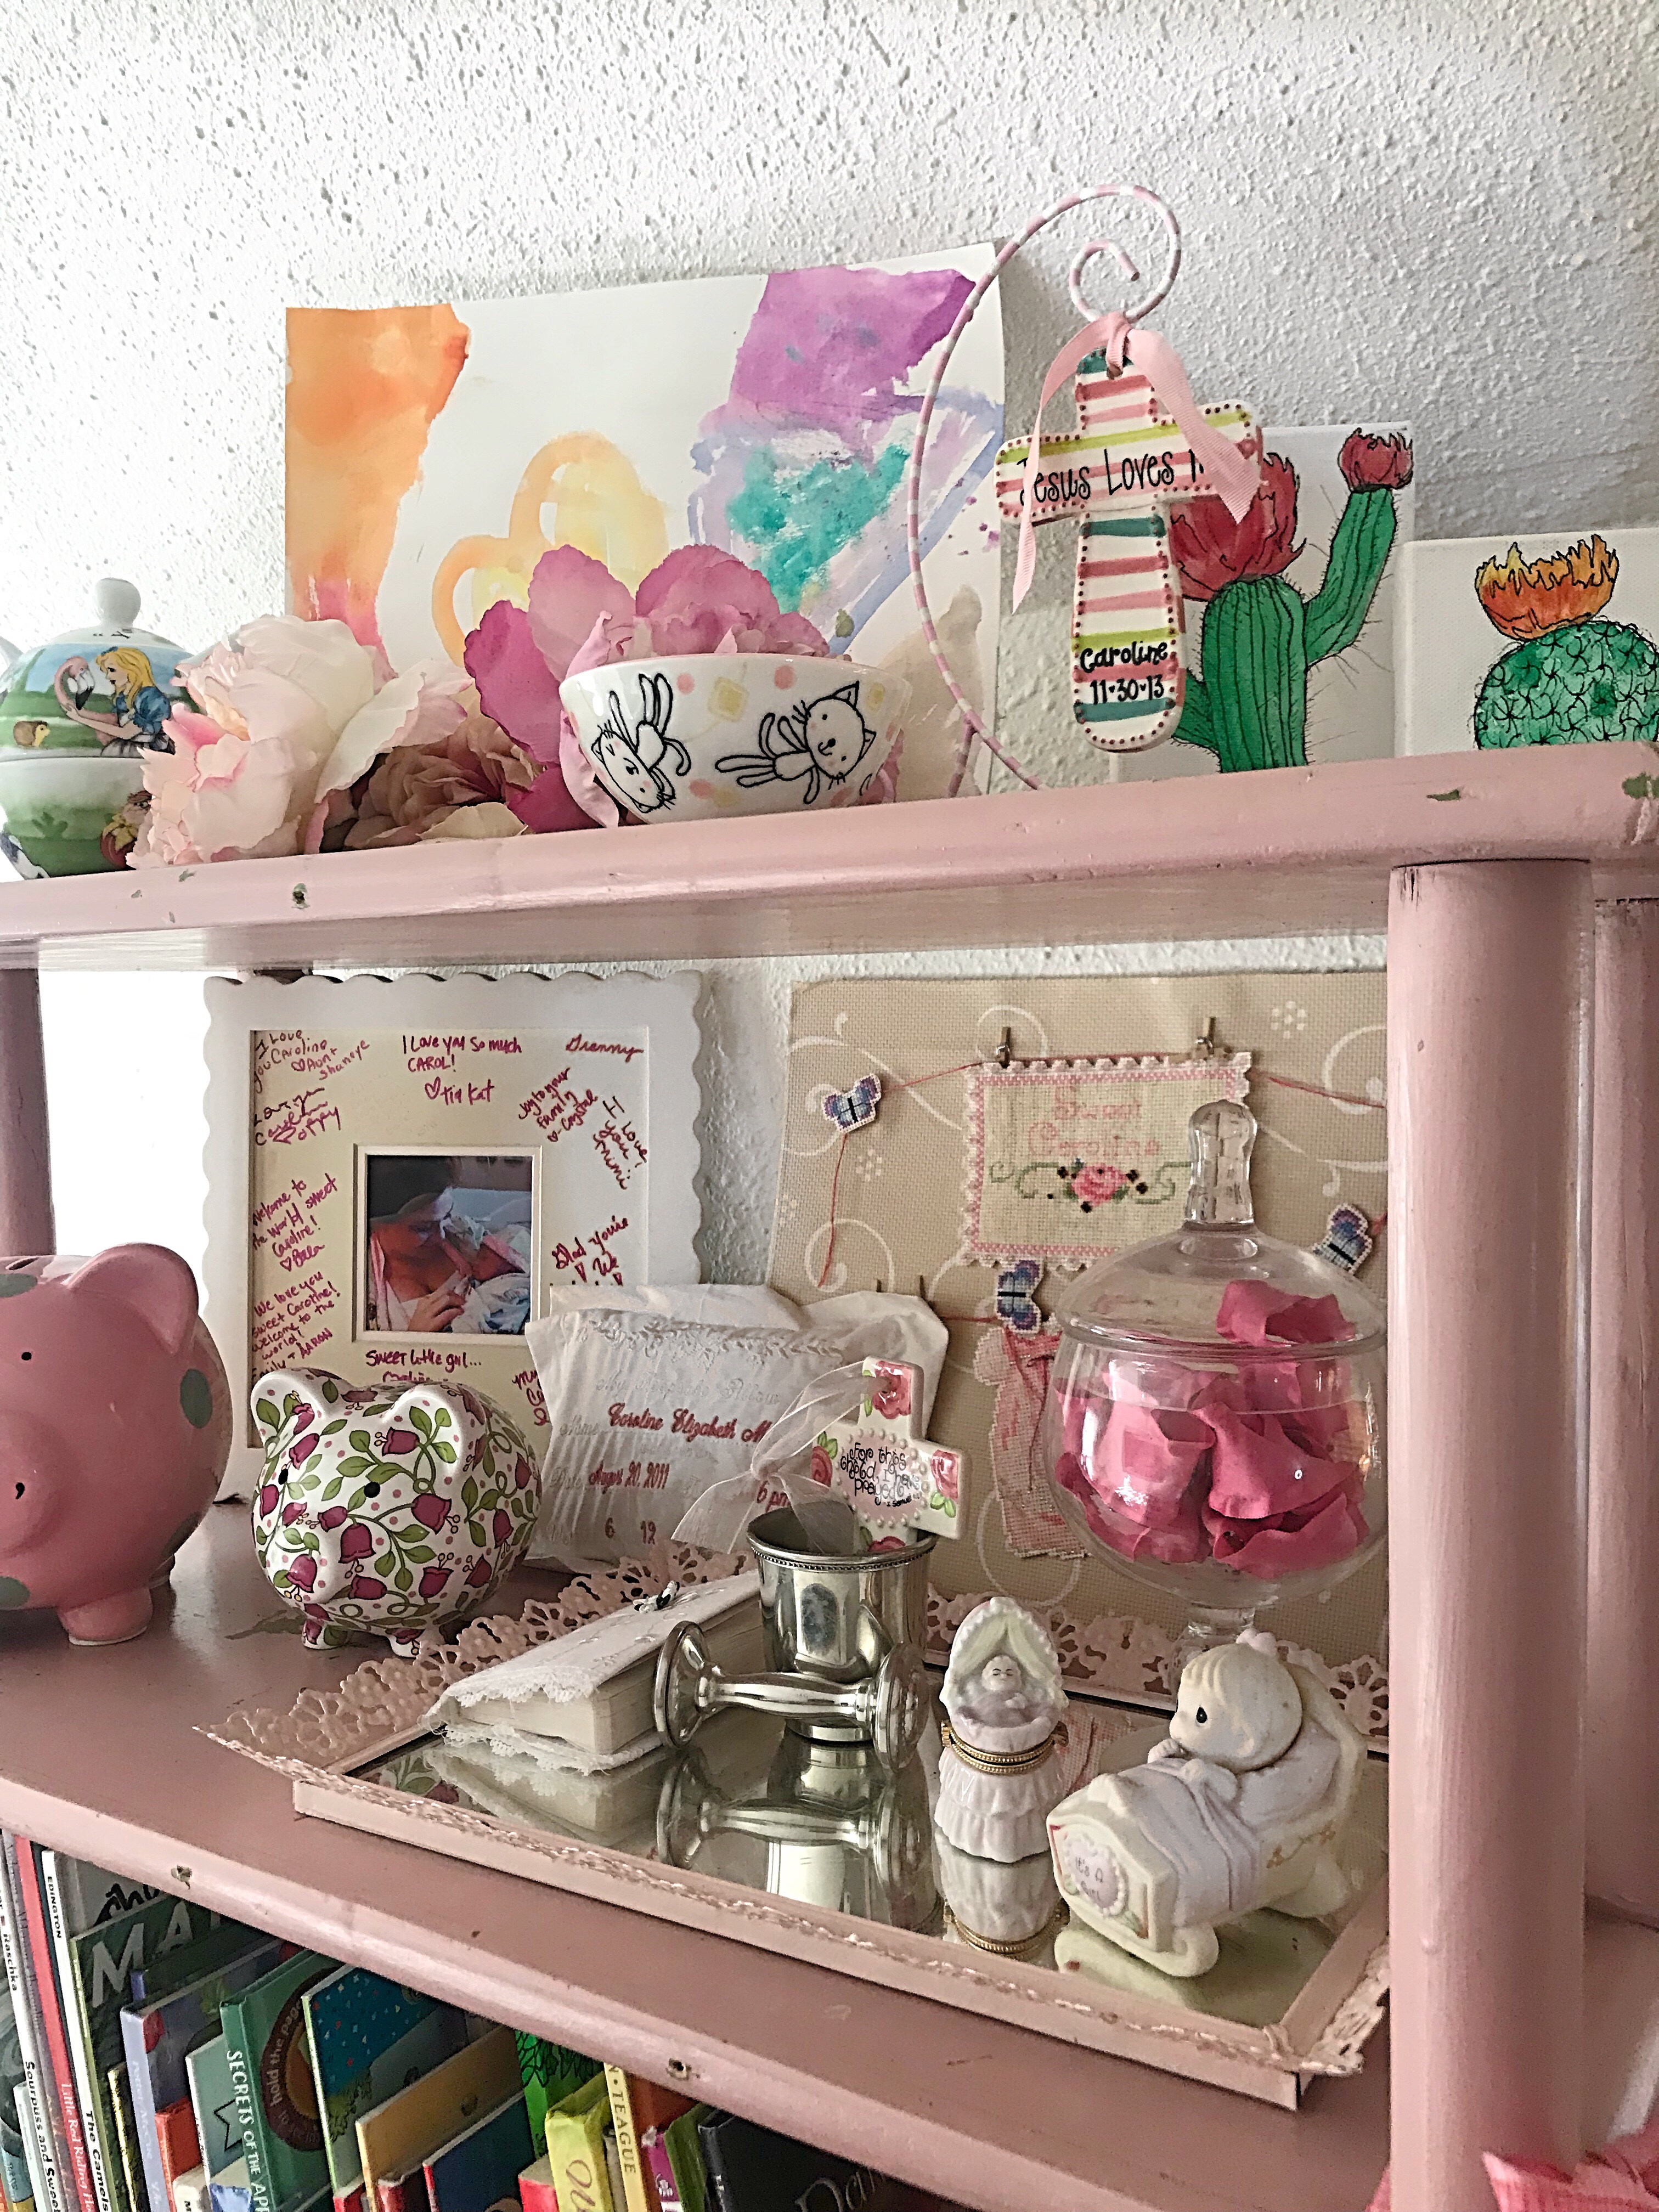
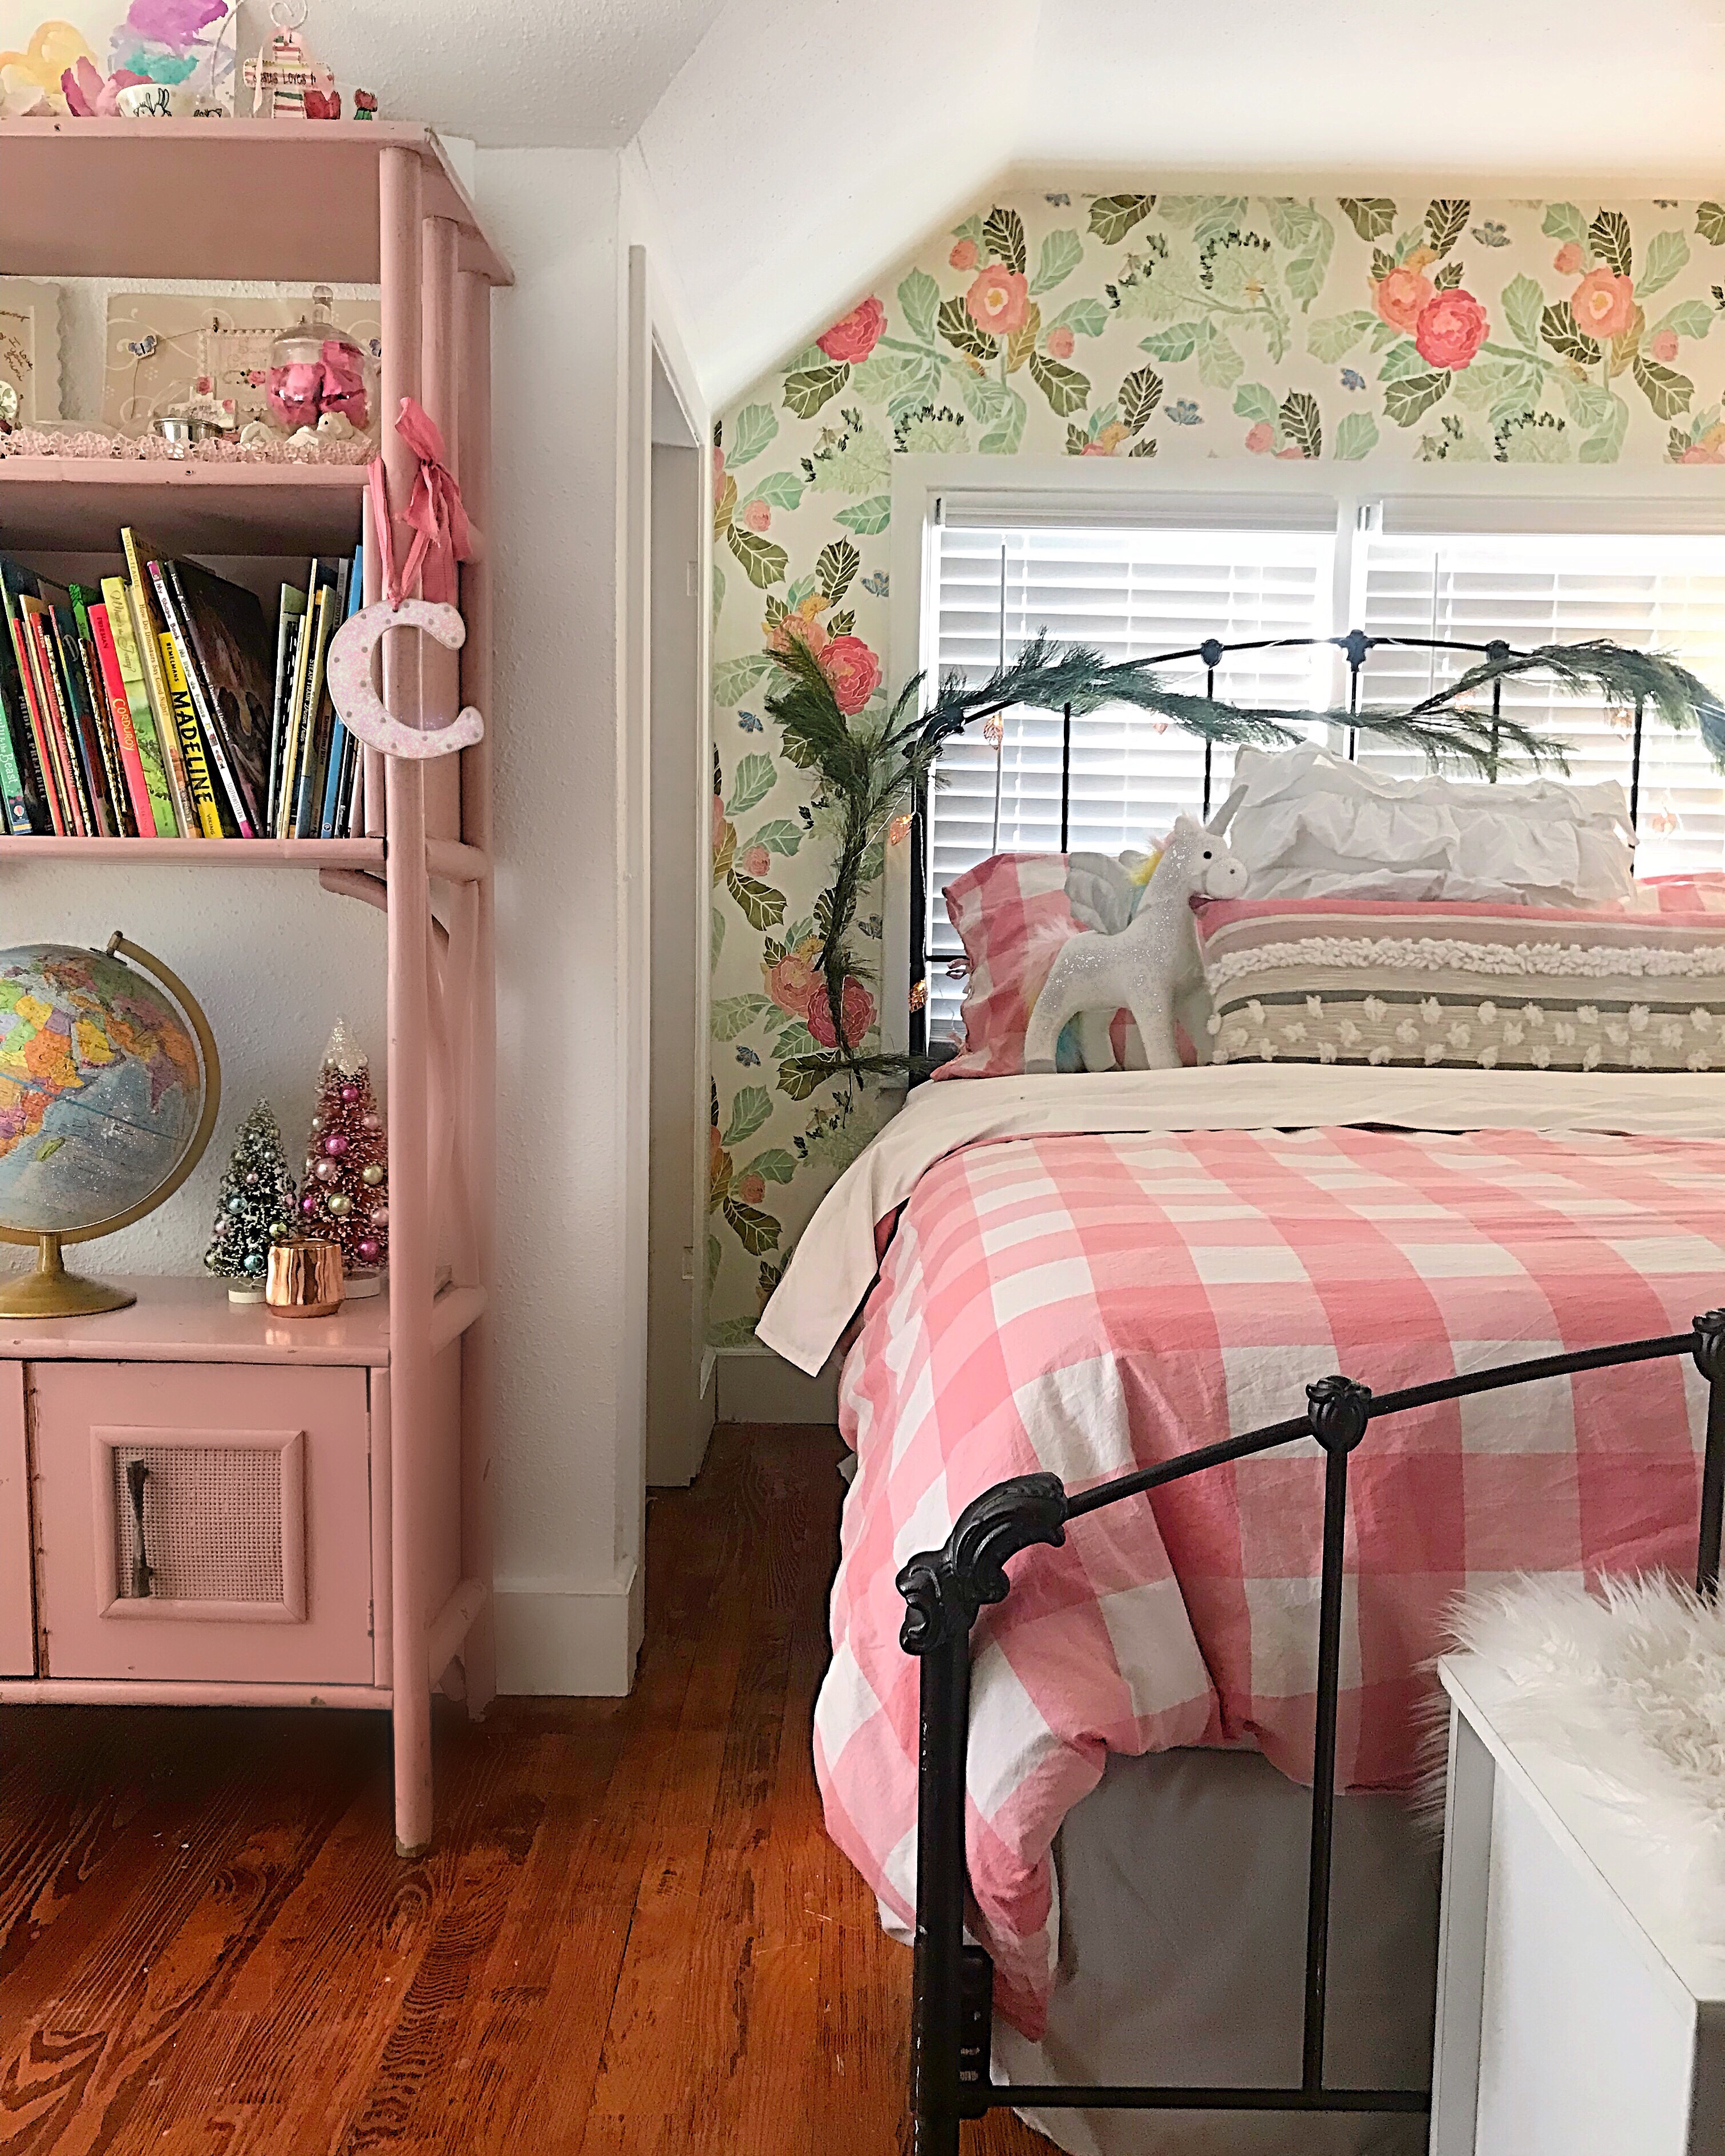
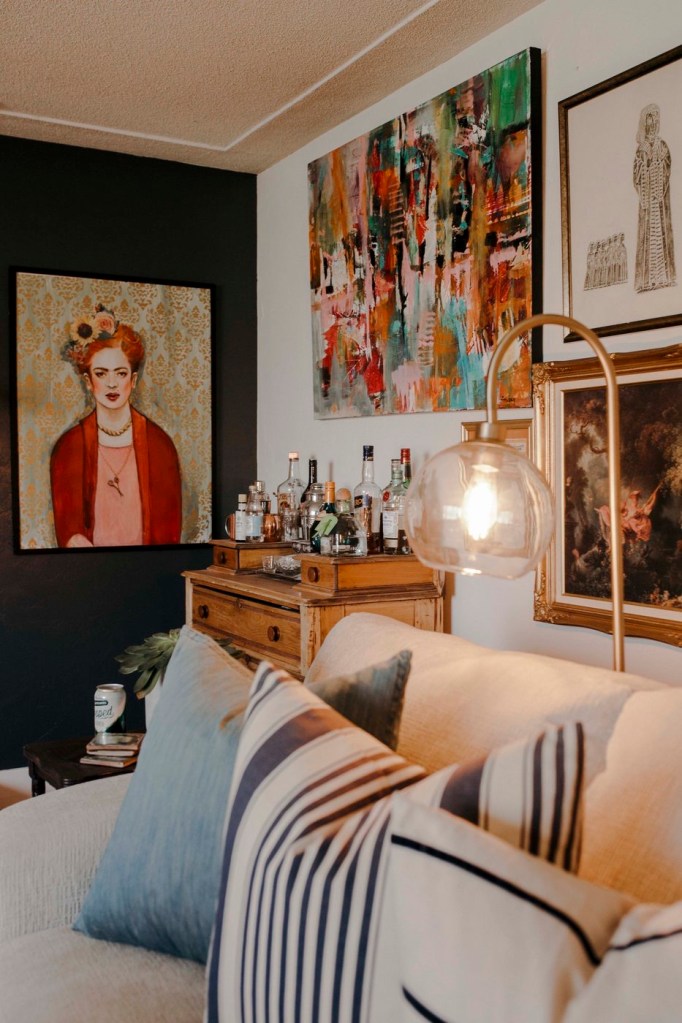
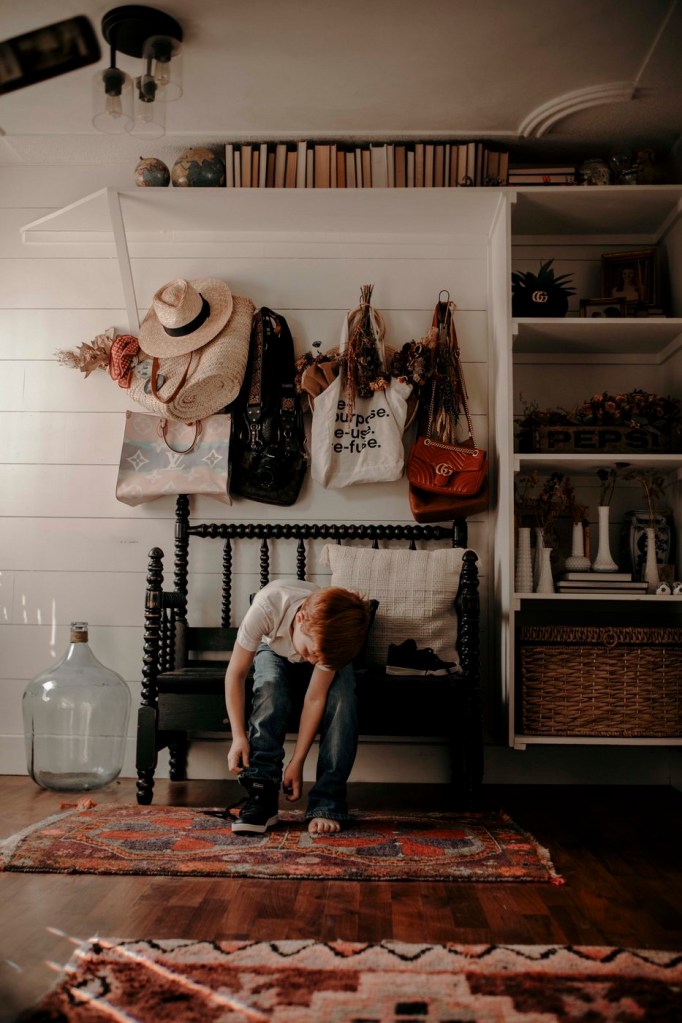
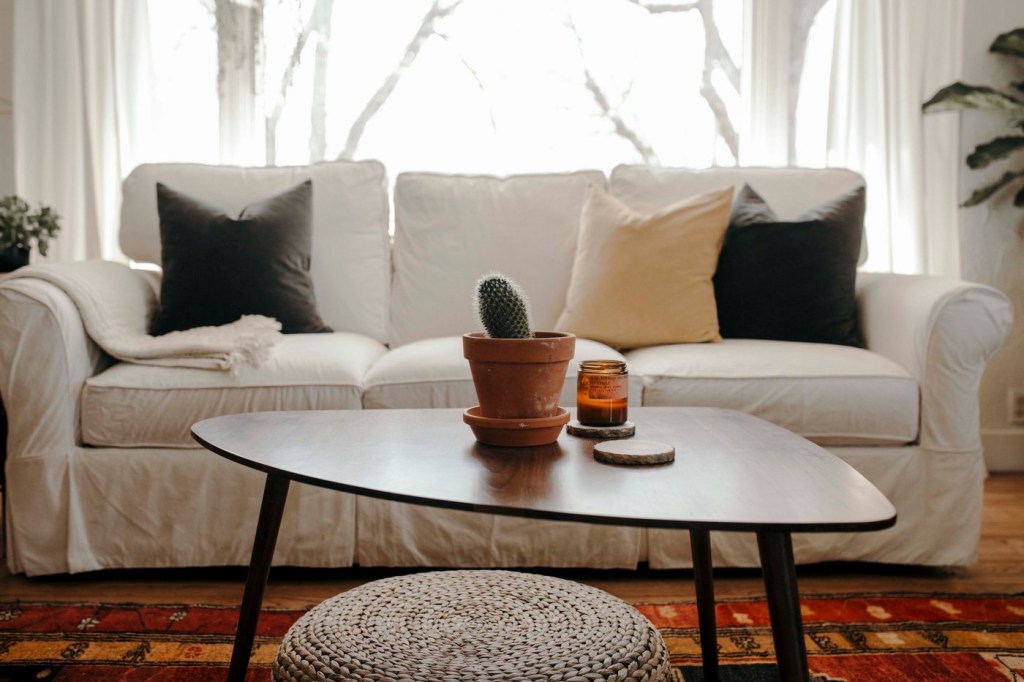
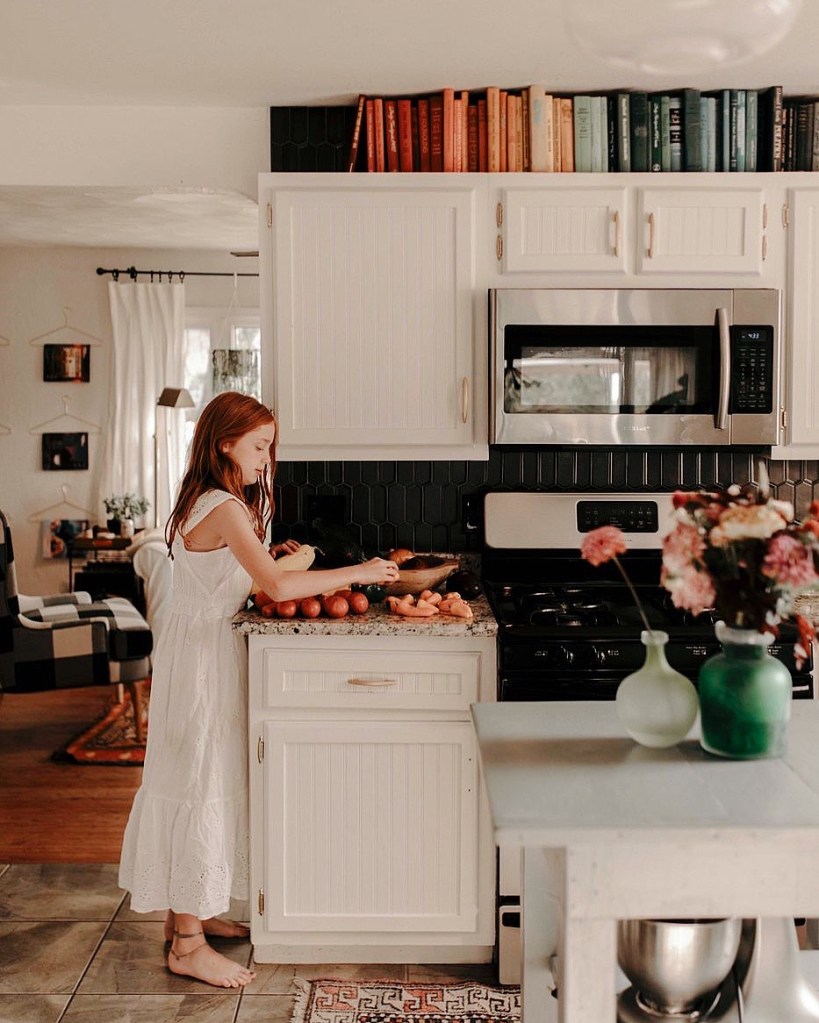
A curated look in home décor has become something over the past 4 years, I’ve really accepted into my space, and honestly, now, I am obsessed with. Instead of everything being perfectly matched and within one specific style, a curated look appears less planned and intentional and instead looks like everything has been collected over the years and put together with a keen eye. I have so many quirky and uncommon pieces that I’ve been handed down from family or that I needed to incorporate in my home. Adapting to this has made everything complement each other without looking like it came from the same place.

This may seem like a more challenging look to achieve, but it’s actually a lot easier than you may think. It’s also a lot of fun. I have two grandparents whom are/were artist, so having one of a kind originals really helped inspire my “wall of misfits.” You can really get creative and indulge in the process of putting together a home that will truly express your individual taste and style.

I’ve put together a list of things in my personal opinion, help you to create a curated look in your home.

Decorating Tips for a Curated Look:

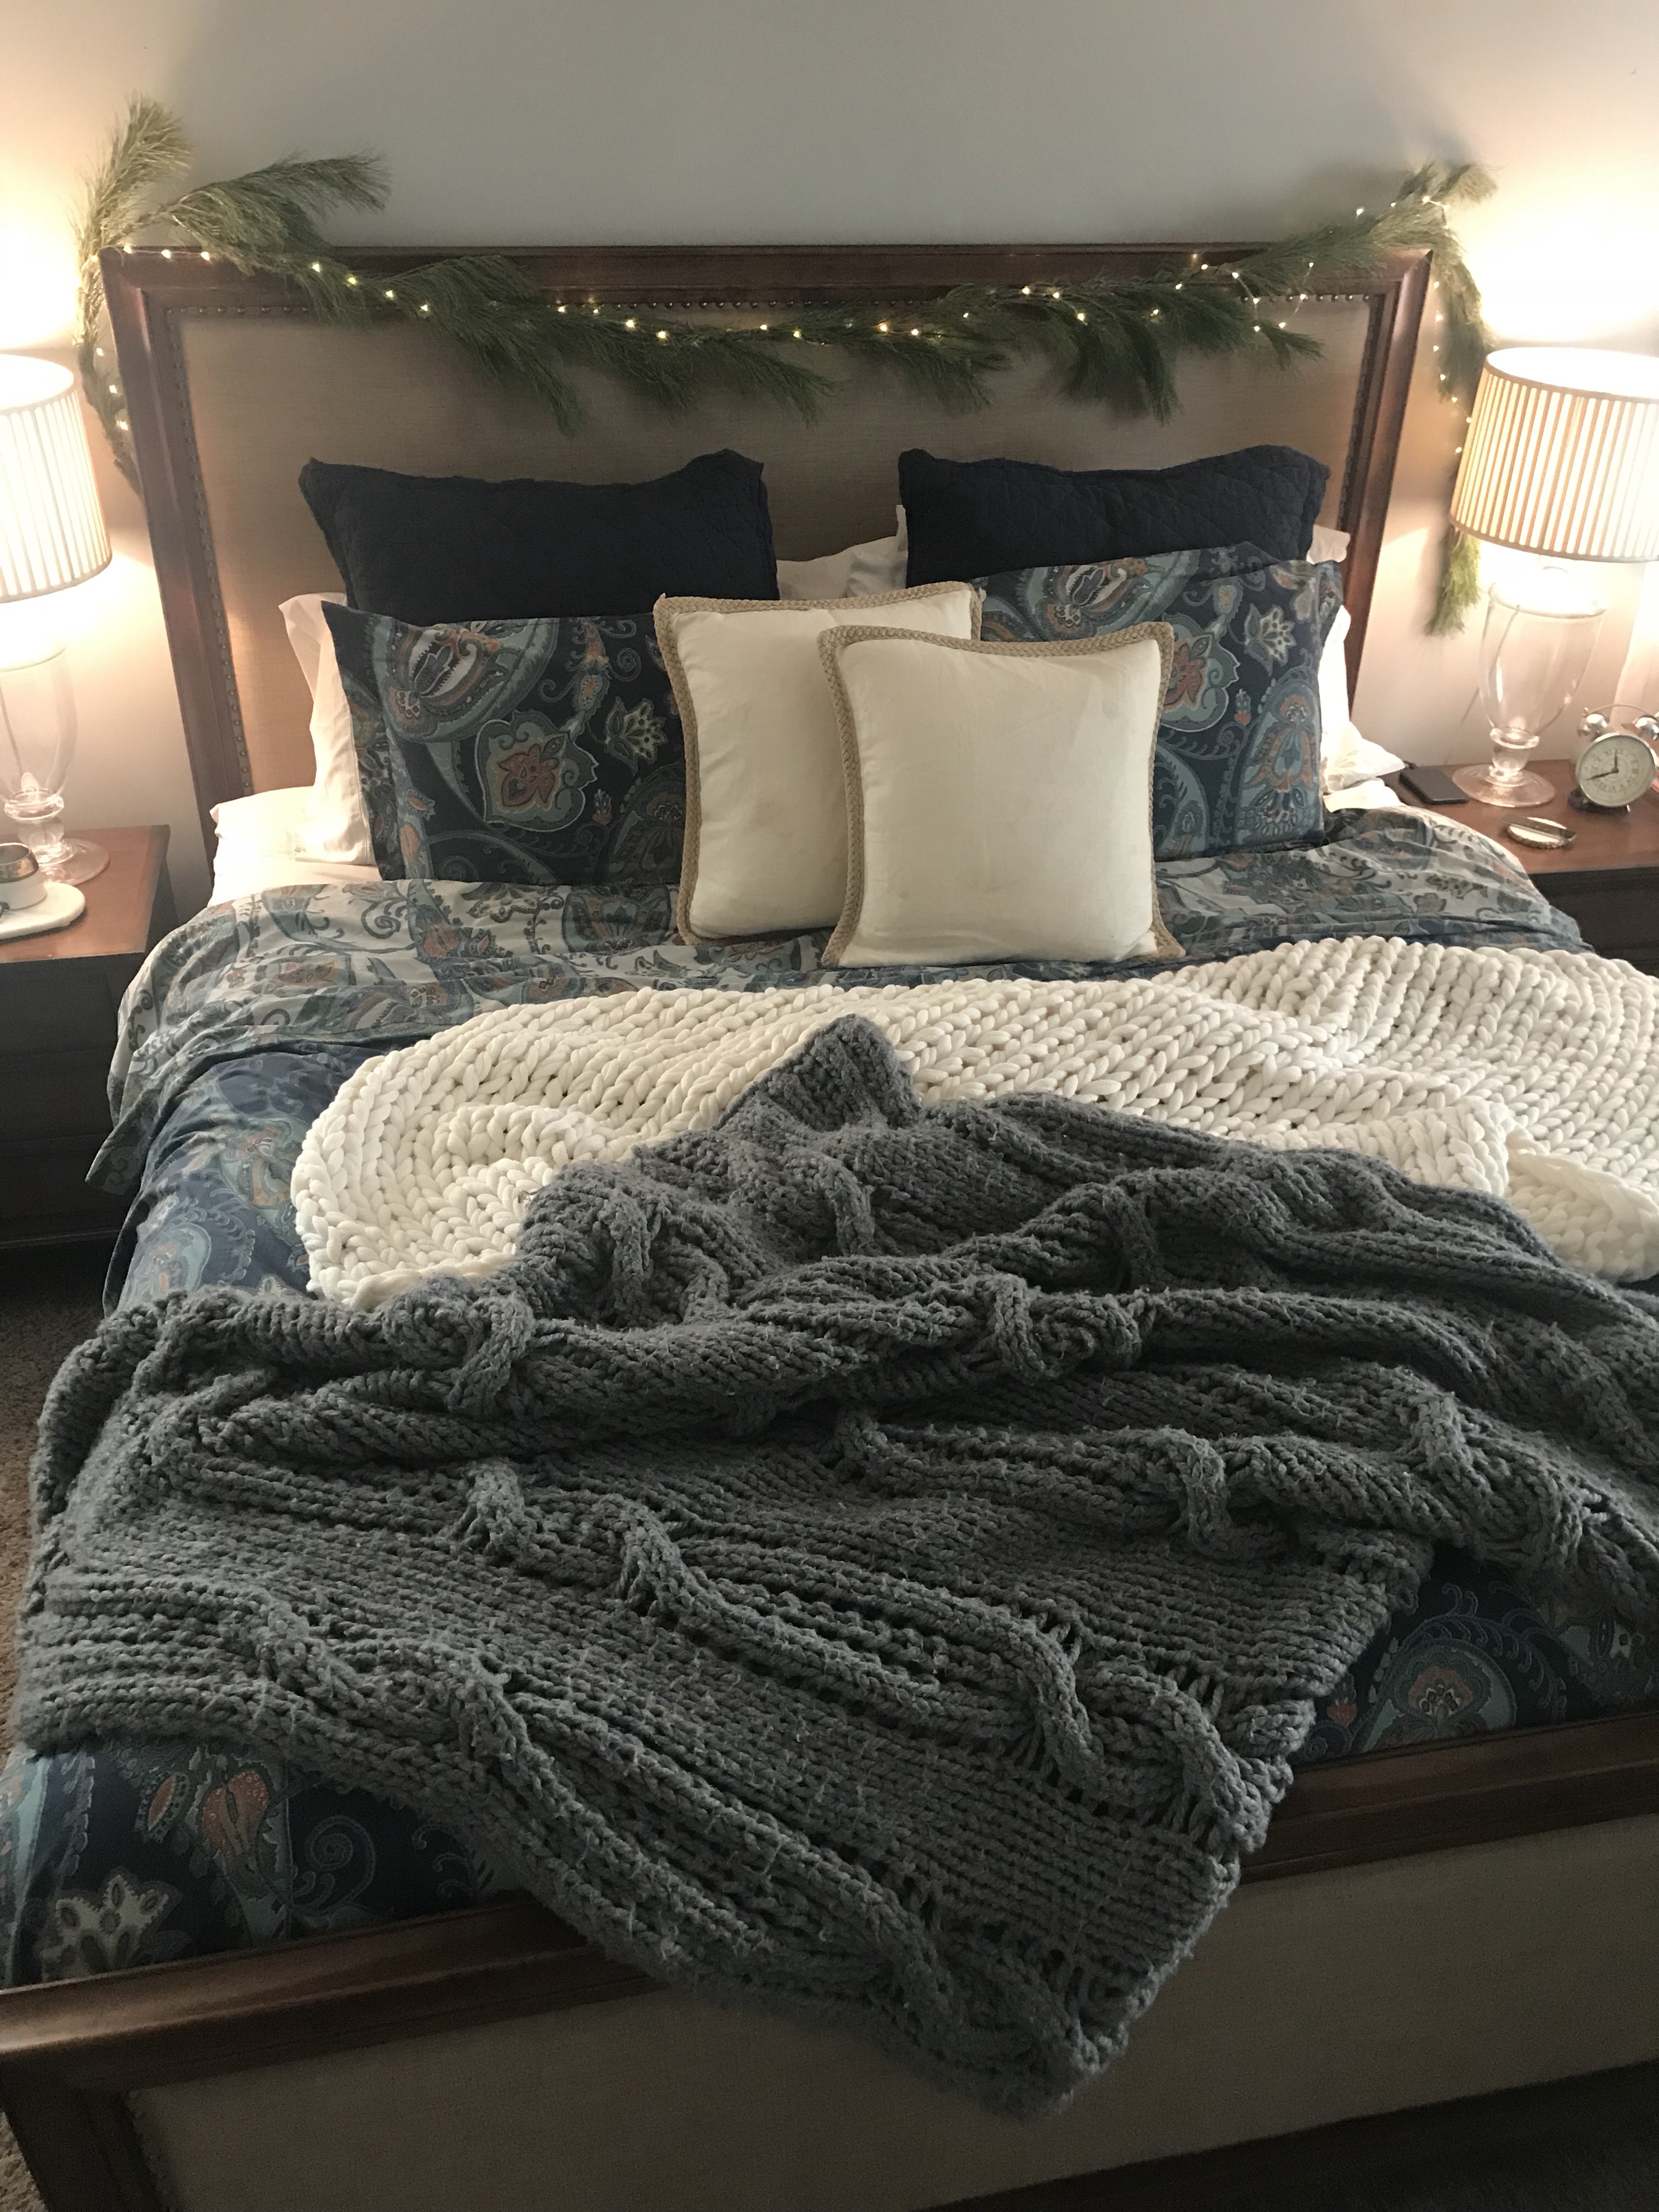
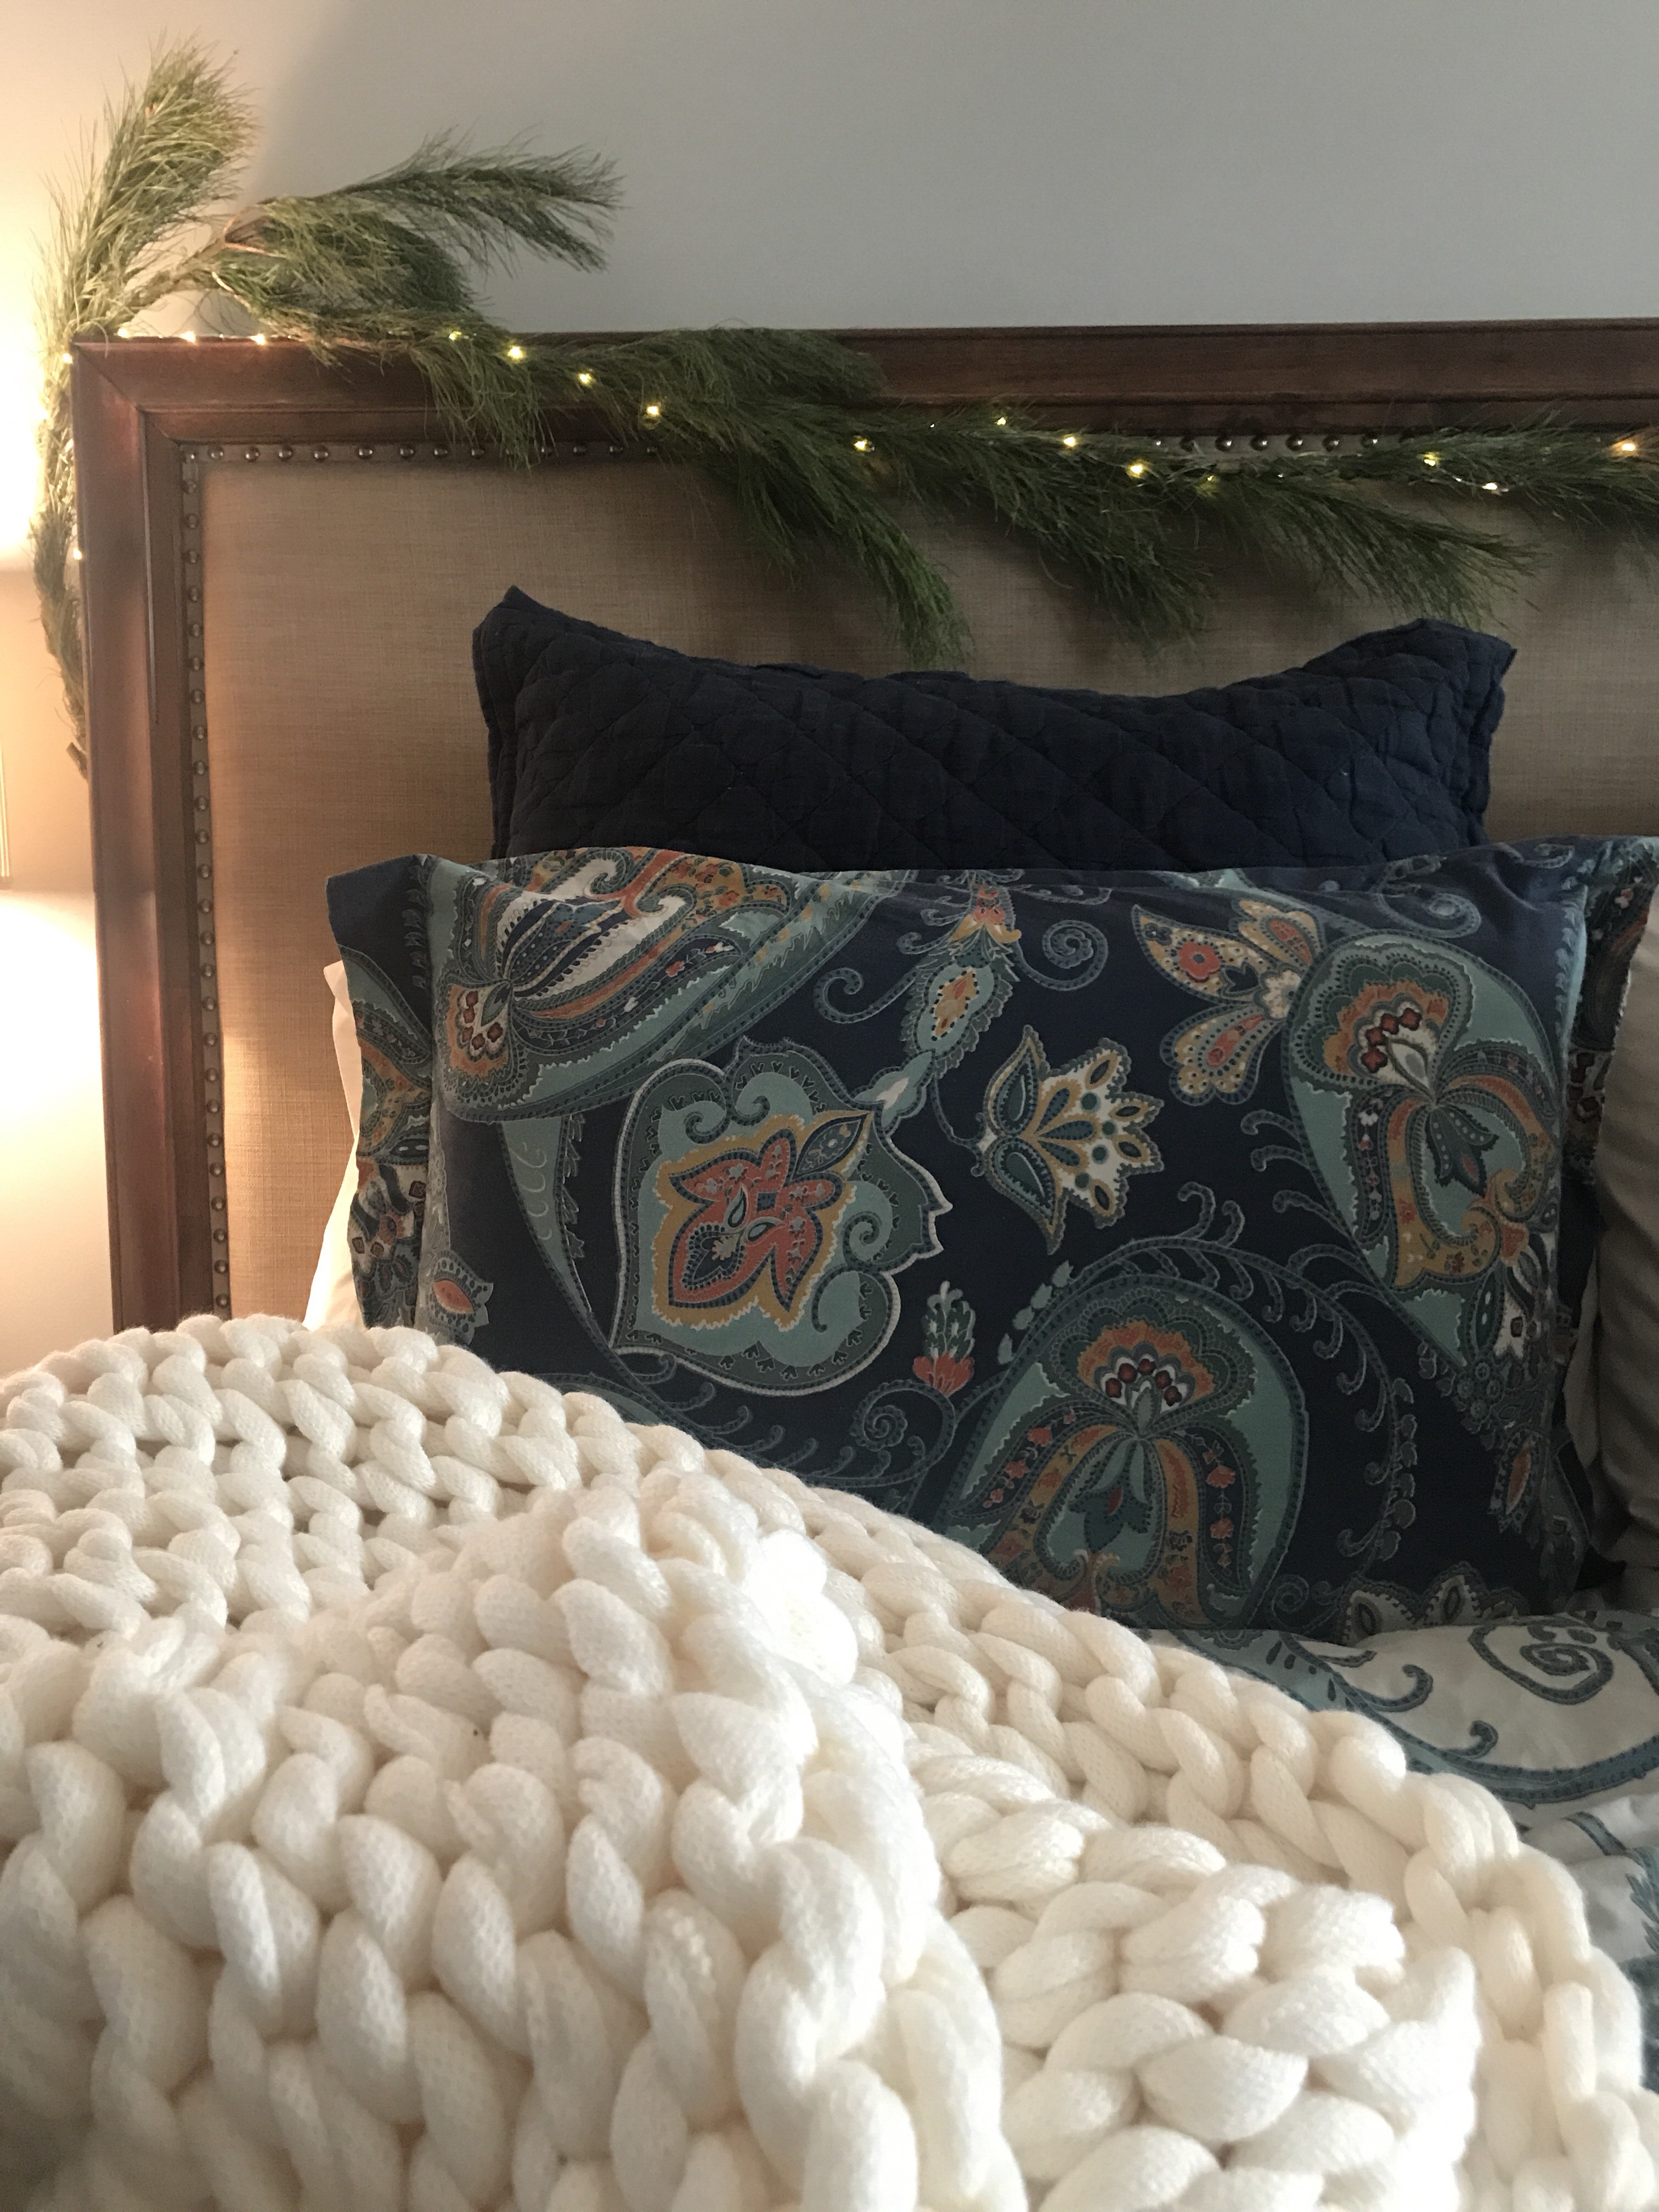
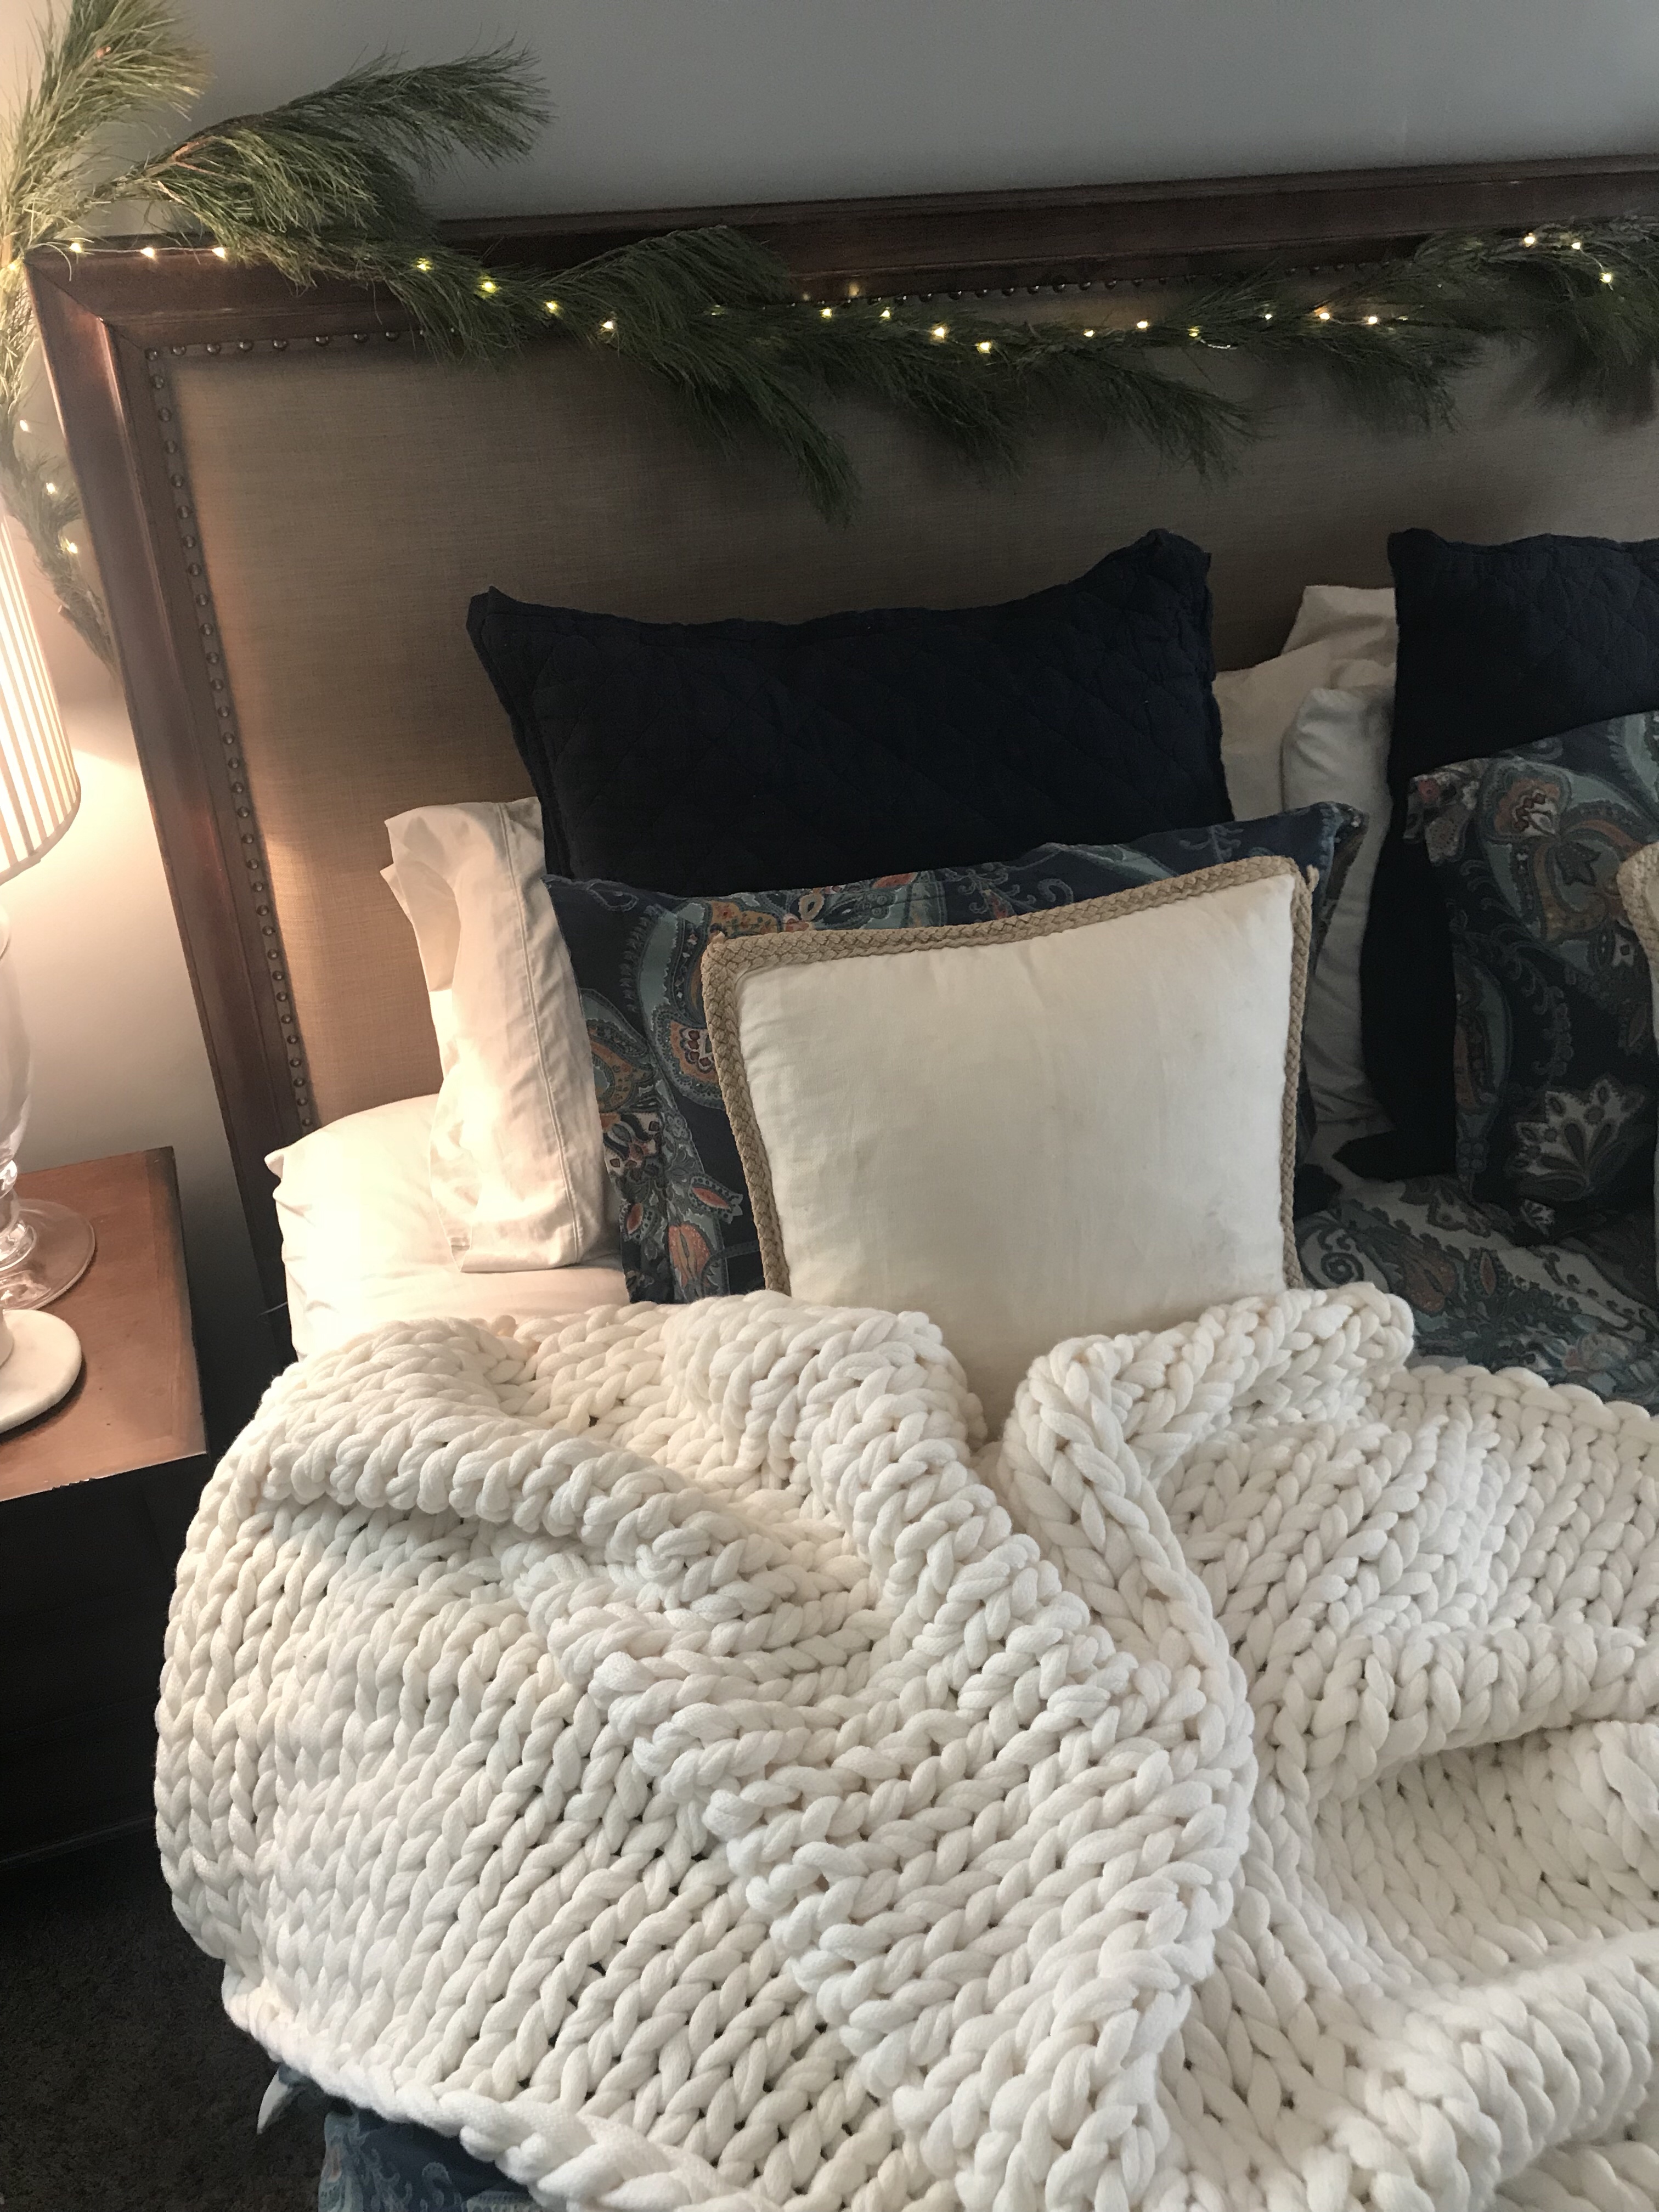
Mix the old with the new

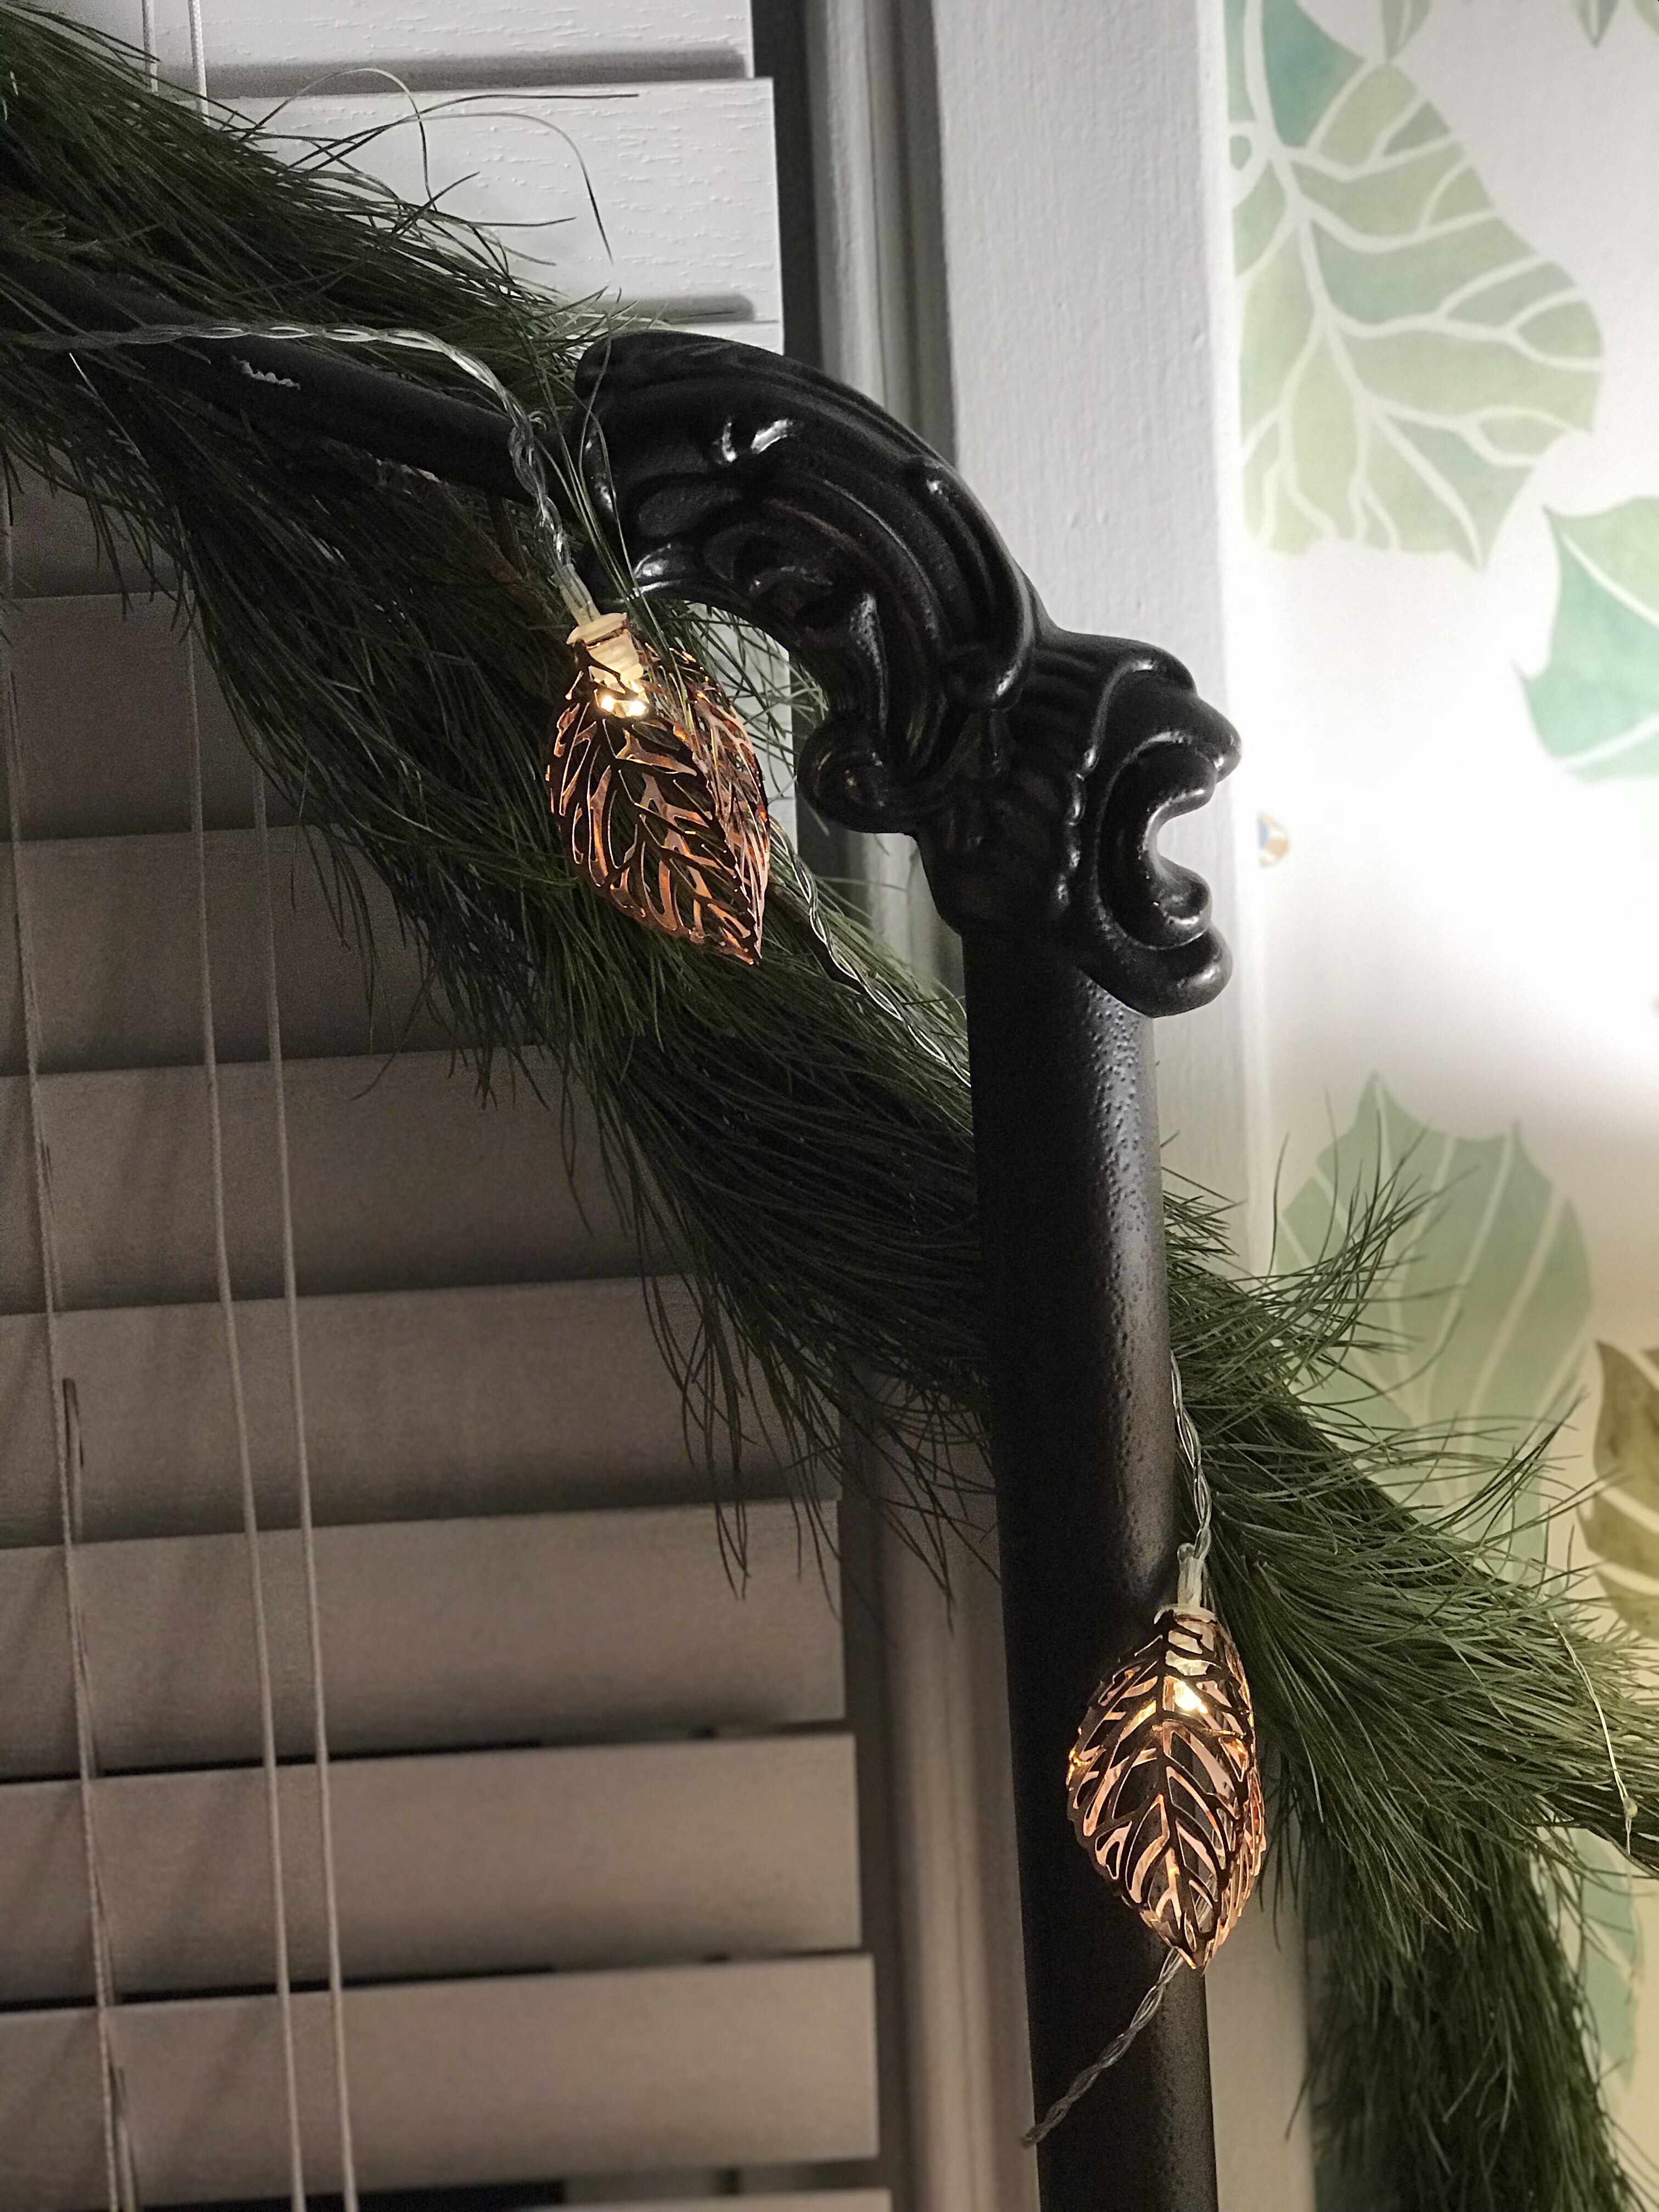
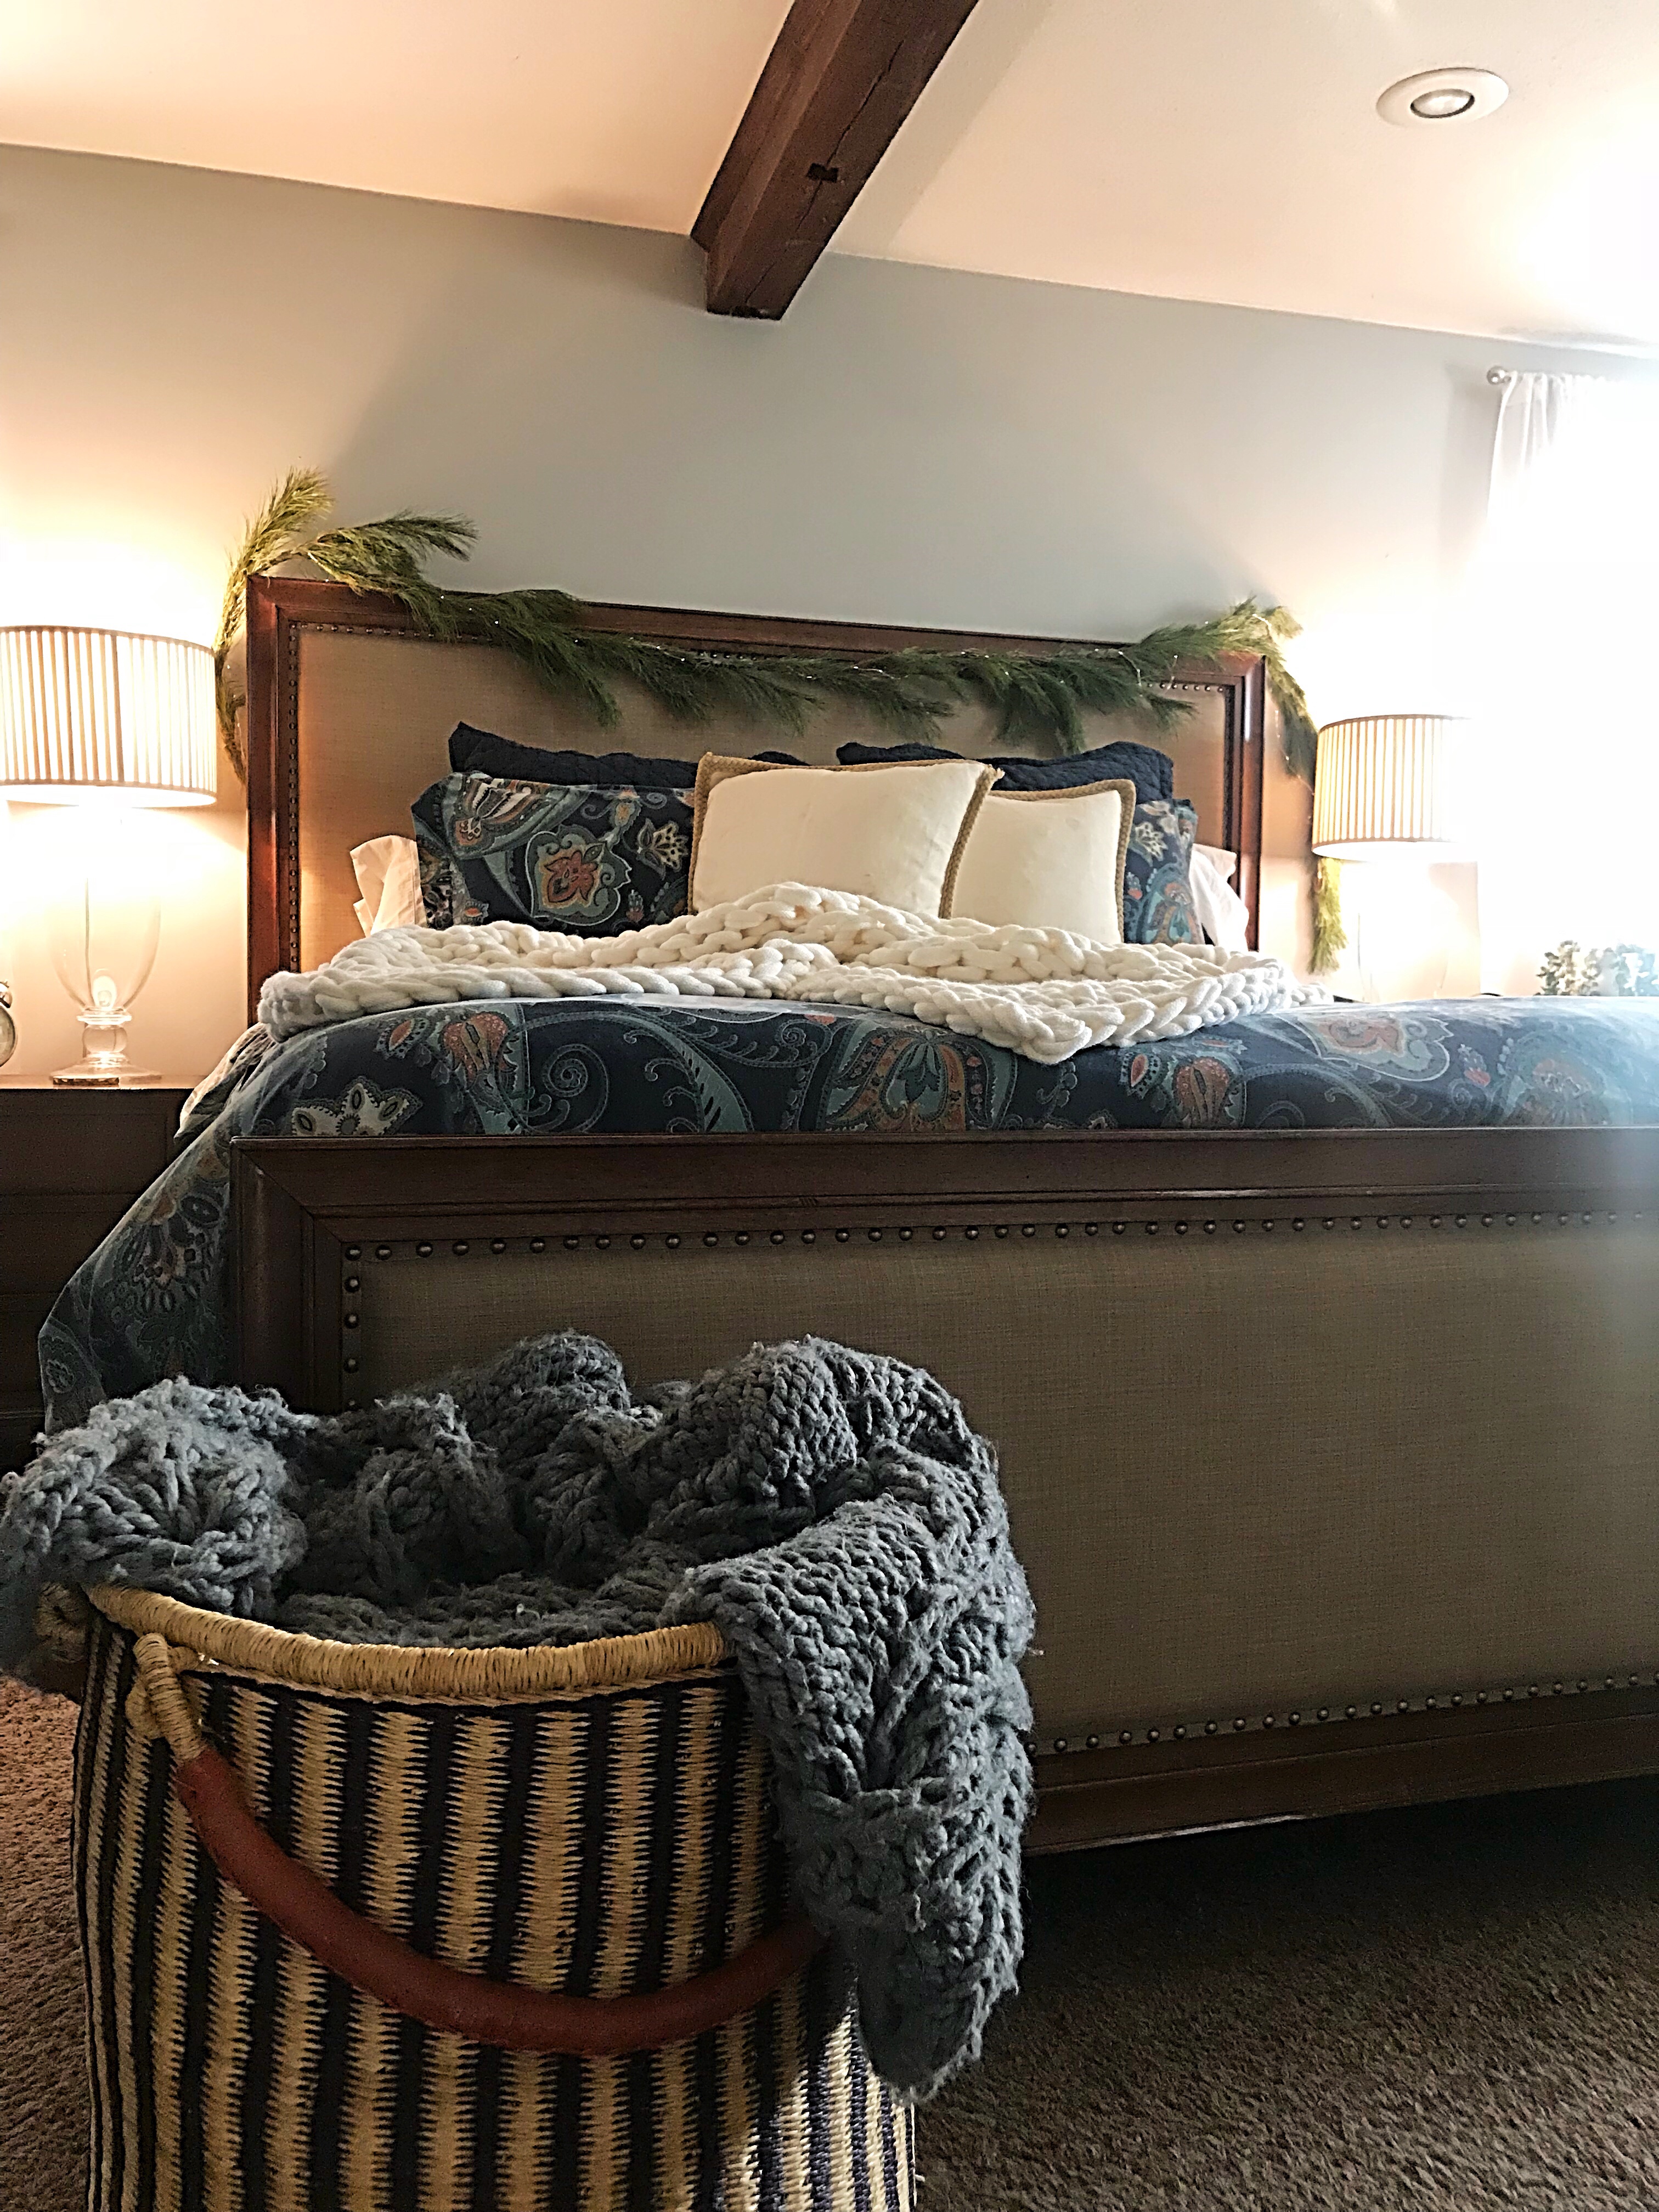
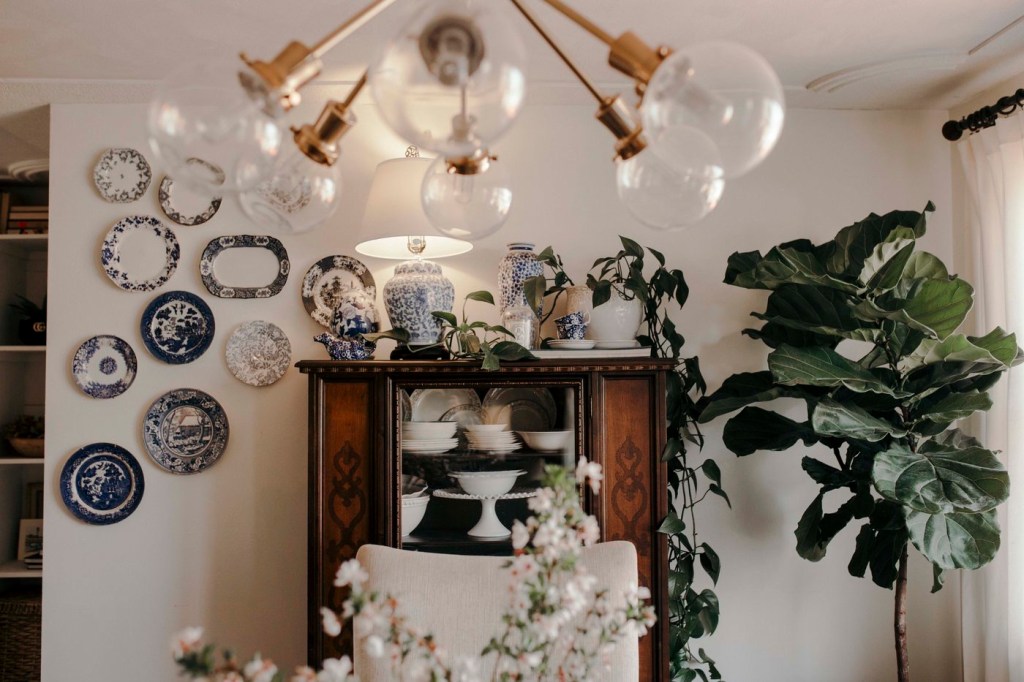
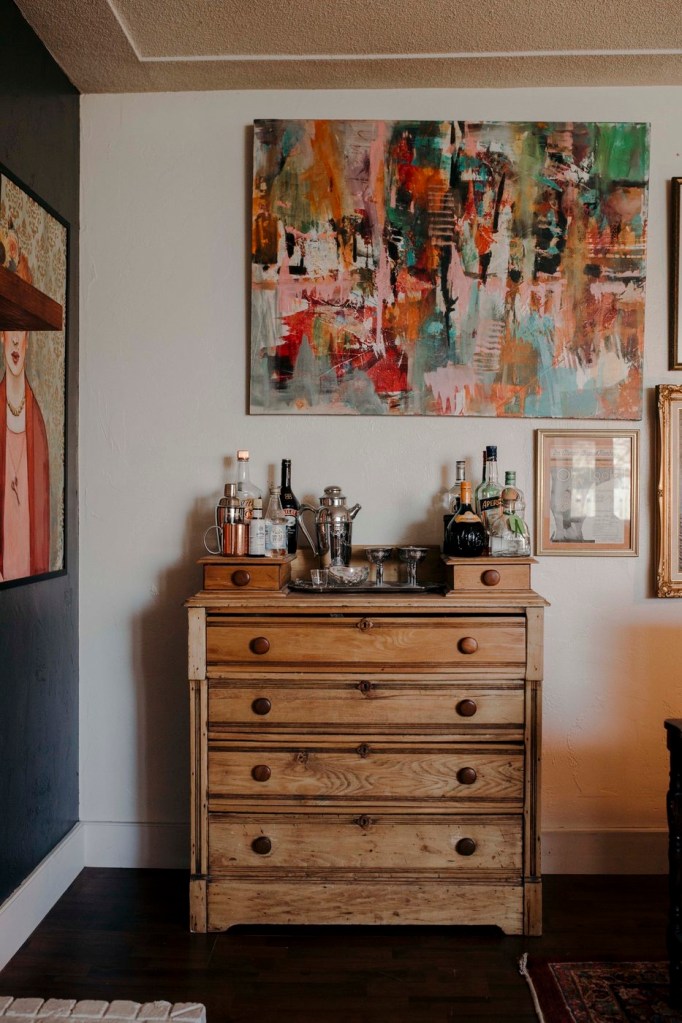
The contrast between old and new décor creates a really interesting look that doesn’t seem “planned” but instead like you’ve built it up over time, which is the essence of a curated look. Vintage items also bring a lot of character to a space, while newer items will infuse it with fresh, contemporary vibe. Find a nice balance between the two to capture a truly unique design that is all your own.
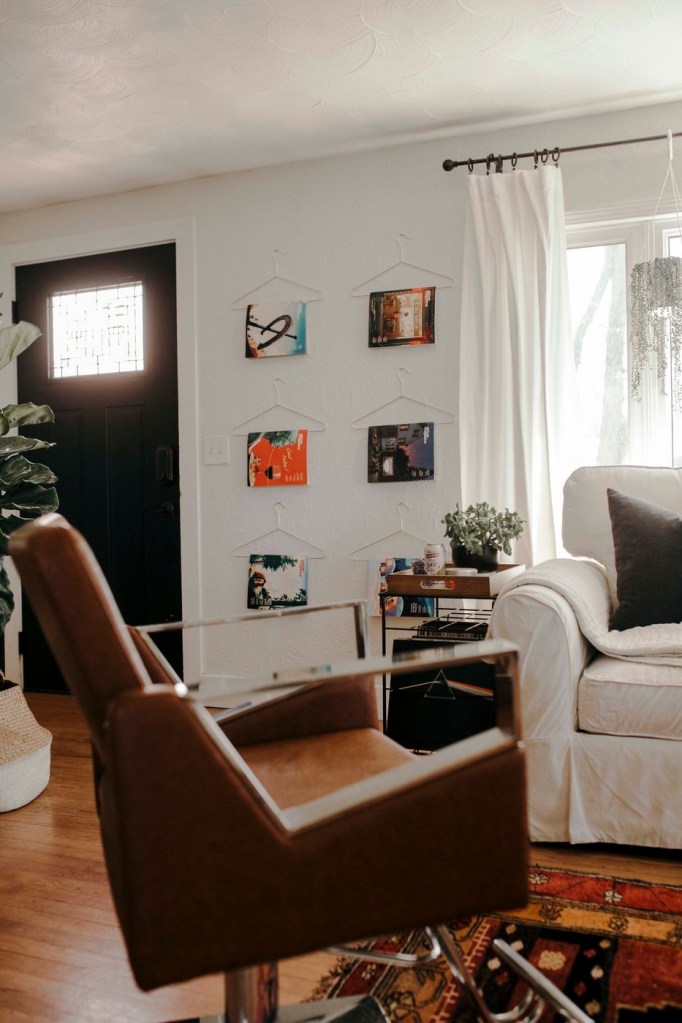
Combine styles

Another way to switch things up is by combining different decorating styles. When you stick to one strict style, everything looks very intentional. However, adding just one other style to the mix, even in a small way, will give the décor more character. The more contrasting the styles are, the more interesting it will be, such as rustic décor mixed with glamorous elements.

Switch up where you shop

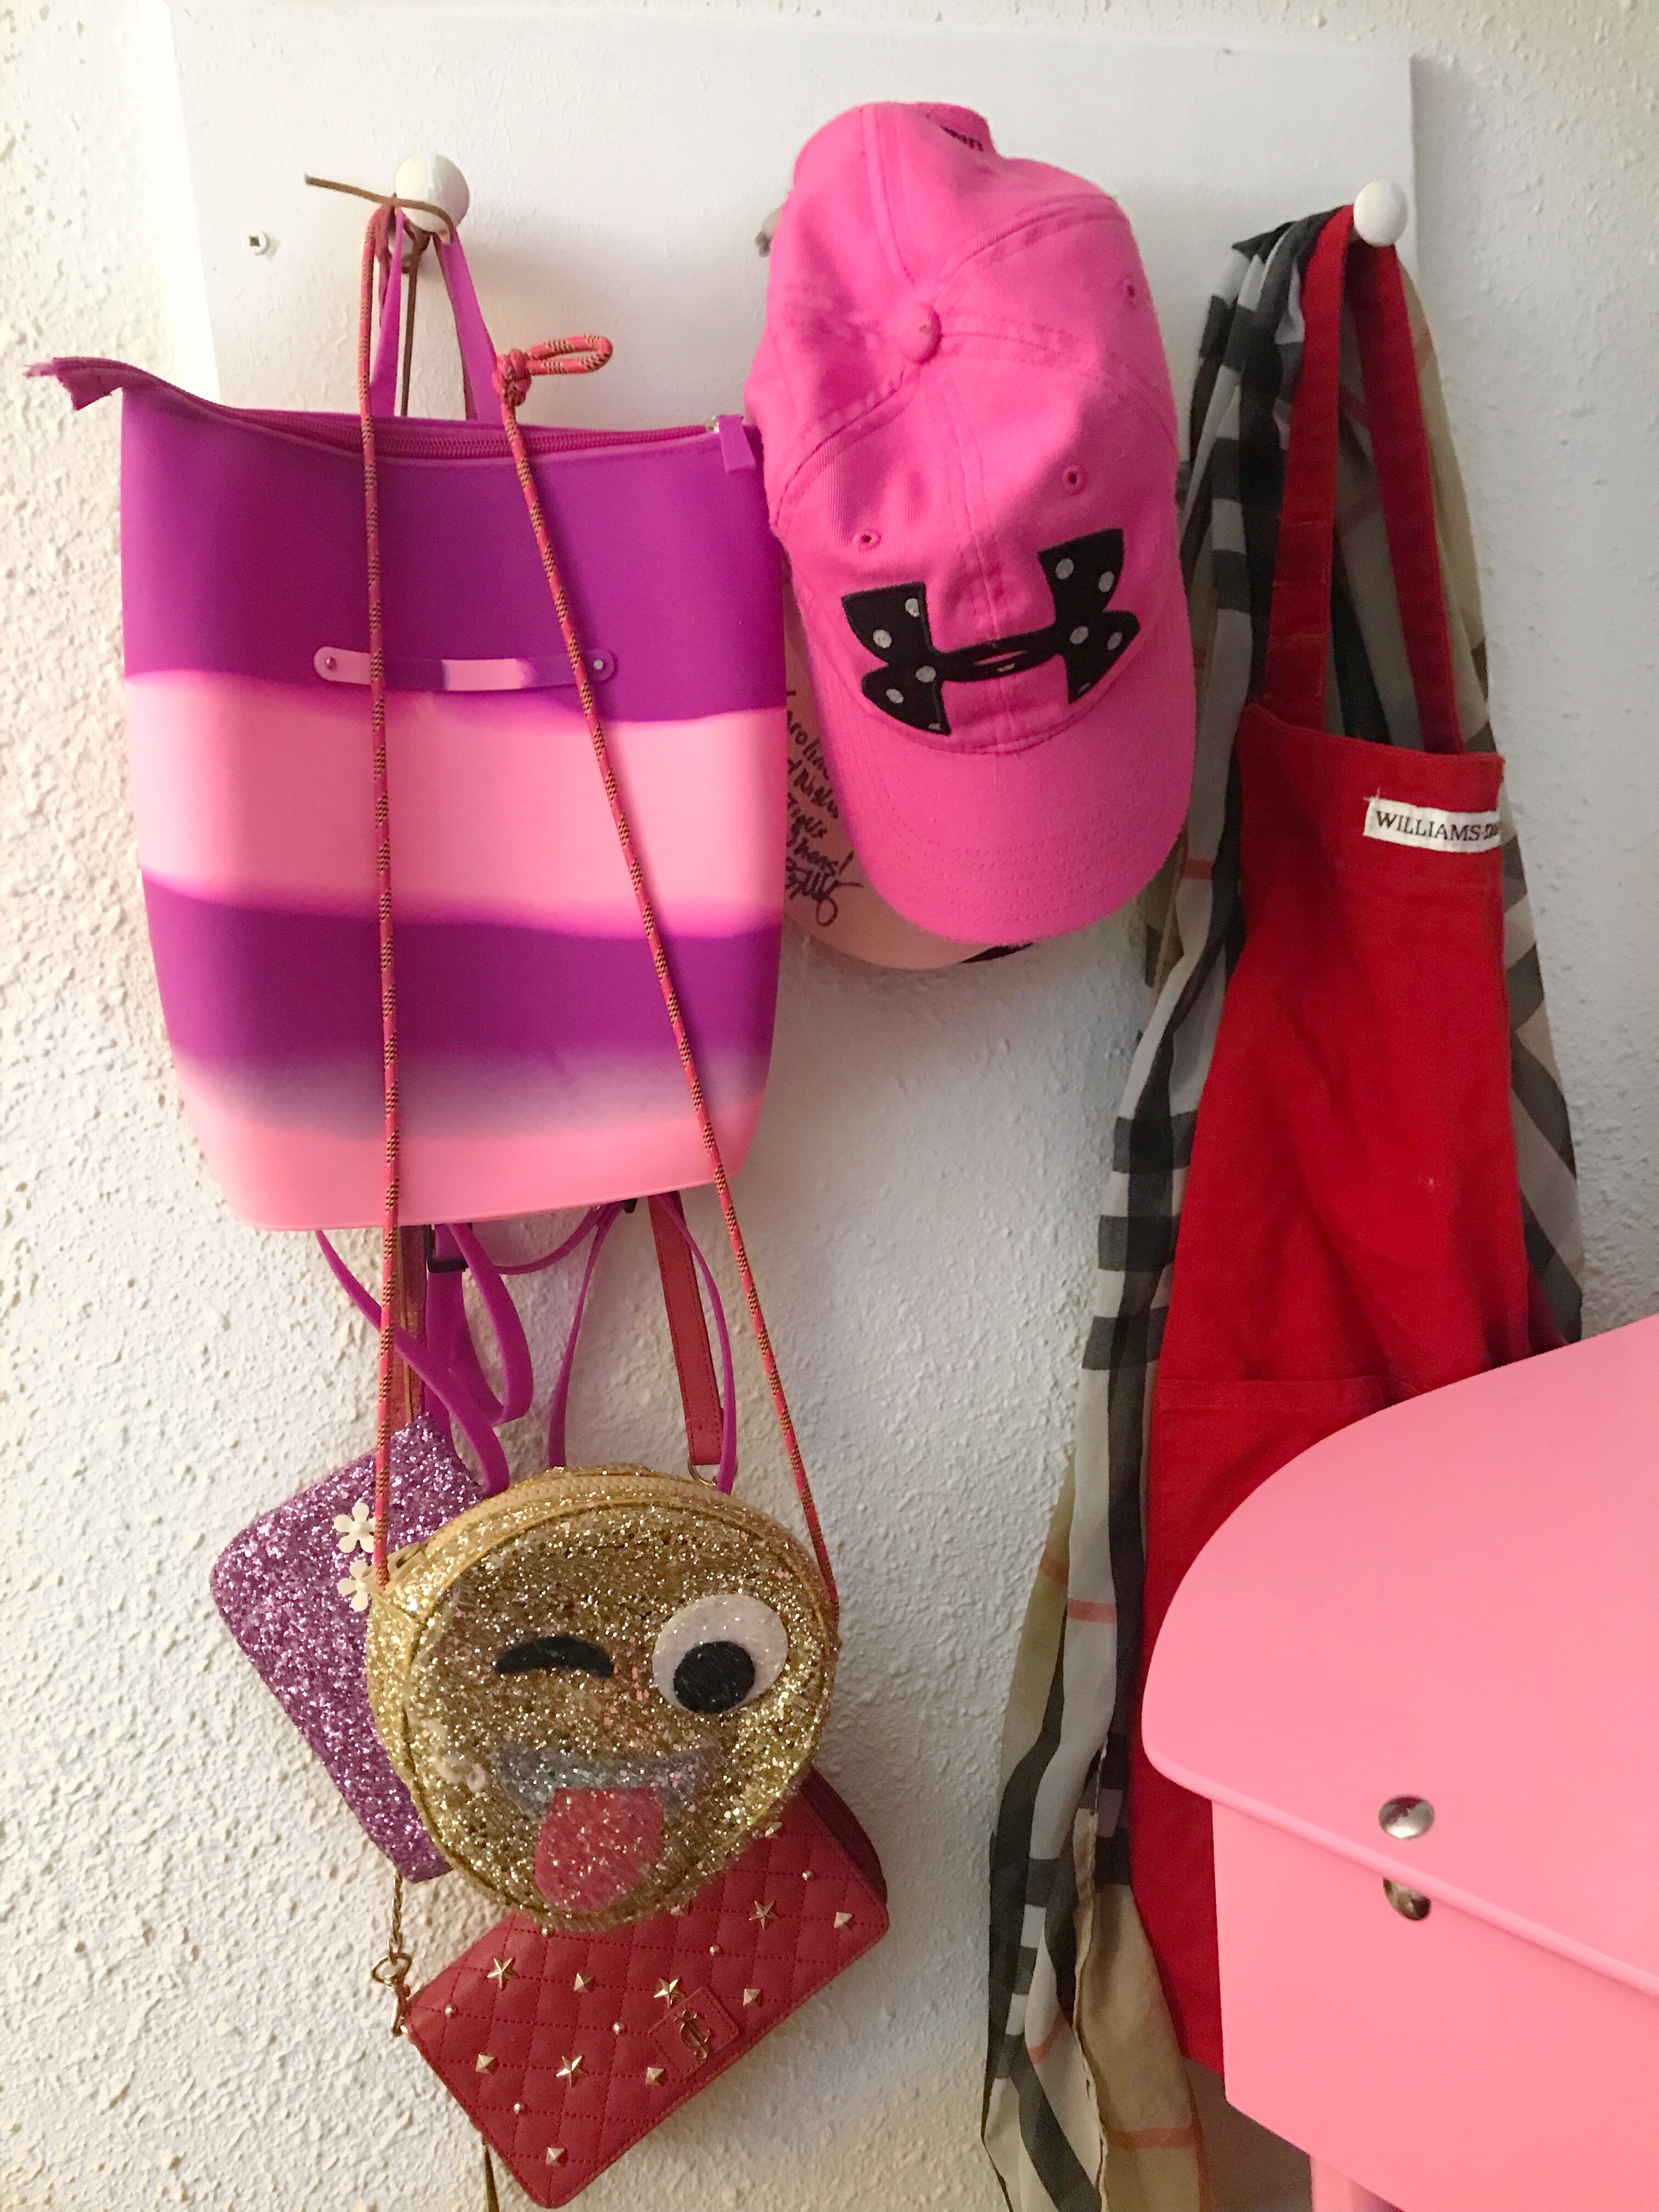
The more varied your sources for décor are, the more curated and original your decorating will look. Visit stores in your area you haven’t checked out before, shop online at the myriad retailers all over the world, and explore thrift shops and garage sales for one-of-a-kind items. I personally love to shop at eight store in my town that has new and gently used furniture from all eras. @abodefurnishingsanddesign

Mix up accent chairs

if you know me personally, you know I have a soft spot for an accent chair. It’s natural to think that everything needs to match in a literal way for it to look nice in a space. However, furniture and décor can complement each other without being exactly the same. Gold, silver, lightwood, or bamboo, I promise once you get everything in the room you’re going to love all of the different colors and textures! Your accent chairs are a good example. Try swapping them out to different styles to give your seating a more curated look. This works well in a dining room, too, especially with the two host and hostess chairs.

Choose décor that you love

This sounds like it would be obvious, but it’s easy to get wrapped up in just trying to fill a space or choosing things that are the right color, shape, and style without you being completely in love with them. For a curated look that will truly feel like a reflection of you, focus on only filling it with things you genuinely love. It may take a little longer to finish the décor, but you’ll be so much more satisfied with the result.

Xoxo- Blair

The Most Common Mistakes People Make When Shampooing Their Hair


Odds are you’re not shampooing your hair correctly. Now that I have your attention, I want you to know you’re not alone. Most people make at least one mistake every time they lather up. Sometimes we don’t spend enough time scrubbing our scalps, occasionally we don’t rinse thoroughly, and sometimes we skip the deep conditioner. But, like anything, there is always room for improvement, and taking steps to take better care of our hair is pretty simple to fix. Well, once you know where you’re making mistakes.


With that in mind, I’ve outlined six common errors people make when shampooing and conditioning their hair.

Mistake #1: Not Wetting Your Hair Thoroughly

Most people don’t wet their hair thoroughly before applying shampoo. Every strand needs to be soaking wet in order to get a deep clean. The good news is, it just takes about a full minute standing under the shower stream to ensure every strand is drenched. The bad news is, it’s different for everybody. If your hair is particularly dense—not even thick, just dense—run your fingers through to double-check that water has made it from the root to the ends of your hair.

Mistake #2: Using Too Much Shampoo

People generally have no idea how much shampoo to use in the shower. And if you use a fancy shampoo, you could be washing a lot of money down the drain. At the same time, using too little shampoo won’t get your hair clean enough. It won’t even coat your strands. There’s a way of gauging how much shampoo you need, though. For short hair, aim for the size of a nickel. For medium-length hair, aim for a quarter. If you have long hair, you’ll want to use about a half-dollar. Squeeze the shampoo in your palm, and then use your fingers to apply the product starting at the scalp and crown.

Mistake #3: Skipping the Scalp

Starting at the scalp is crucial. If you’ve ever had a professional shampoo at a salon, you know how much time we spend on your scalp. It’s not just an impromptu head massage. Scrubbing the scalp is a key step to an effective shampoo. The magic number for cleansing the scalp is three minutes, no matter your hair length or hair type.

Focusing your initial shampooing efforts on the scalp helps remove dirt, sebum, and build-up that collects there. Spending less than three minutes on your scalp is like quickly running a mop over a dirty floor rather than scrubbing the surface of its grime.

Mistake #4: Not Rinsing Thoroughly

I recommend using the first shampoo to focus only on the scalp, not the actual hair. It turns out some of us actually should rinse and repeat, especially those with long or textured hair. I prefer the Kevin Murphy experience. This includes MAXI.WASH first, their detox wash, followed up by my regimen of HYDRATE.WASH and HYDRATE.RINSE.

It all goes down like this: After you’ve scrubbed your scalp for three minutes, it’s time to rinse. A quick 15-second rinse should suffice, but depending on your hair type, you could need a little more time. Now it’s part two of the shampoo, only this time you’ll be focusing your efforts on your hair, not your scalp. To do this, take about a dime-sized amount of shampoo and apply it to your hair. Focus on massaging the shampoo into your actual hair strands. You can spend as little as 20 seconds on this part, or longer if you use lots of products that can cause build-up.

If you typically whip through the rinse portion of your hair washing process, you may be doing more harm than good. Especially since it’s shampoo that can cause build-up on hair, not conditioners, this is why it’s important to spend at least a full minute rinsing hair of shampoo before moving on to the next step.

The trick to using conditioner is only to apply it to the bottom two-thirds of hair to prevent your scalp and roots from getting overly oily since the scalp produces natural oils.

The trick to using conditioner is to only apply it to the bottom two-thirds of hair. Also, don’t let conditioner touch your scalp since your roots, which develop a natural oil, can get overly oily and weigh down hair.


Skipping conditioner can be a time-saver, but your hair will pay for it in the end. The key to a productive condition is removing the excess water from your hair before you apply conditioner because this allows it to soak in and do its job. Take your time to work it in, making sure to coat every strand.

Mistake #5: Uneven Application

If you want to avoid tangles and hair breakage, work the conditioner into the hair with a wide-toothed combor a Classic Styling Brush. Make sure to rinse the conditioner out thoroughly. Depending on your hair type, leaving a little bit of conditioner on for softer hair can be beneficial, specifically for coily hair textures.

Mistake #6: Forgoing the Cold Rinse

Finally, you should be giving your hair a cold water rinse. If you thought this was a beauty myth repeated over the years in magazines and on websites, this is a beauty do that is actually true. While hot water raises the cuticle and therefore makes products more effective, you need to rinse hair with cold water to close the cuticle. A flatter cuticle has a smoother surface, one which reflects light and makes hair look shinier. It’s ok not to if you’re afraid of a cold shower, but if you’re brave and committed to having shiny hair, then take a chance and move that tap over to cold.


I hope these tips help and you take away a little more knowledge about your time spent in the shower, washing and rinsing your hair.

xo, Blair

3 Ways To Show Thankfulness To Your Friends


I love this time of year because it causes us to reflect on relationships, family, & friends, and pushes up towards thankfulness for the New Year.

Do you ever what to show appreciation & love to your friends, but aren’t sure how? Or maybe you want to buy them something meaningful but don’t want to spend a ton of money? I’ve got a couple great ideas that are sure to make your friends feel cared in any season! The best time to show love and gratitude, is a random day when they least expect it!


– ONE –

WRITE THEM A HEARTFELT NOTE

There’s few things sweeter & simpler than a thoughtful handwritten note. Over the years I have gotten many thoughtful notes from friends; whether it be on my birthday or just a bit of encouragement, they are always impactful & meaningful. It’s probably easy for you to think of a million things you love about your best friends. When is the last time you told them how much you care for them? Sometimes a little note of love & encouragement can go a long way. 


– TWO –

TAKE THEM OUT TO COFFEE

Who doesn’t love coffee?! Next time you have a little bit of money & time, take a good friend out to treat yourselves. I think that if you are intentional with your time – even if it’s just for thirty minutes, you’re going to deepen that friendship even more!


– THREE –

BRING A TREAT TO THEIR WORK

Next time you’ve got some free time, bring a friend their favorite treat on their lunch break! I love bubble teas from a local coffee shop, so why not buy an extra one for someone you love? Imagine how happy and special they would feel. And it is something that takes barely any time, and make such a big impact. Imagine bringing a friend lunch! It seems that I forget my lunch at home, or forget to pack one haha, at least three times a week! Who’s with me? Wouldn’t you feel so special if a friend showed up to your work with lunch! 


Just remember that even a smile, or an extra “I love you!” goes a really long way. Xo, Blair

THE Kale Salad

To say I’ve been eating this salad on repeat would be a major understatement. It’s quick, healthy, + easy if you prep it for a few days, plus it’s so satisfying. My sister and I have similar versions of this and both love it.

I shared this recipe on stories the other day and had so many questions asking me to re-share it so I decided to create a post about how I make it.

You can modify the nuts and cranberries, but the kale, olive oil, lemon and parm are all major key!

Also—I still think if you’re someone who doesn’t like Kale that you would like this salad! I have never ever liked it. There’s something about throwing the Kale in the food processor that makes it SO GOOD. I feel like that is key!! The only downside to food processing it is the mess. My tip would be to make a big batch and toss it in a baggie to keep in the fridge for the week. Also if you want to make it extra easy like I usually do, grab some of the pre-diced onion. (Insert Tyler cringing)

What You Need.

  1. Kale
  2. Lemons
  3. Olive Oil
  4. Chopped white onion
  5. Hand full of sliced almonds (or whatever nut you’re using)
  6. Hand full of dried cranberries
  7. Parmesan cheese

How To Make The Dressing.

I usually use 2 part olive oil to 1 part lemon juice + a dash of salt. We put it in a bowl and then use the immersion blender to get it very mixed! Real lemons are key here! Don’t skip out and just buy lemon juice. It’s pretty dense and kinda soaks up the dressing, so don’t shy with it on this salad!

Amazon Winter Clothing Round Up No.1

I’m pretty sure we’re all addicted to Amazon these days. How can you not be? You can get everything from protein powder to sneakers, to diapers, lipstick and everything in-between. The quick shipping and not having to brave an actual store is also a major plus.

I love to do these round up posts sharing all of my recent favorites in one place. I’m going to try to share my Amazon finds at least 2-3 times a month on my blog. I order a TON and do a lot of research and review reading before sharing. I only want to share what I truly love and think is a great deal. Most of my finds are pretty random and required ton of review reading and testing to find the best option, so I hope these posts help some of you guys who may be looking for similar things! Or maybe even turn you on to a few things you didn’t know you needed (that should be Amazon’s tag-line lol). I personally have these clothes and after wearing, touching, washing, I 100% recommend ordering these! Enjoy!

1.Woman’s Parka 

2.Long Sleeve Layering Tee

3.Leopard Sweater 

4.THE BEST Black Leggings

5.Color block Oversized Crewneck Sweater 

6.Leopard Sleeve Cropped Sweater  

7.Long Cardigan With Pockets 

8.Long Sleeve Crewneck Cream and White Sweater 

9.Hand Knit Heart Shaped Ball Cardigan

10.Color Block Sweater

11.Pearl Headbands 

Holiday Gift Guides

Hey friends, looking for that perfect gift for your significant other, friend, nephew or loved one? I’ve got you covered with a gift guide for the guys, gals, and kids in your life.

I love getting inspiration from my friends and thought I would share my lists with you too! The best part? You can do this shopping from your couch & free shipping. Thanks Amazon!  Check out my 2019 Holiday Gift Guides.

Valentine’s Day Snack Mix

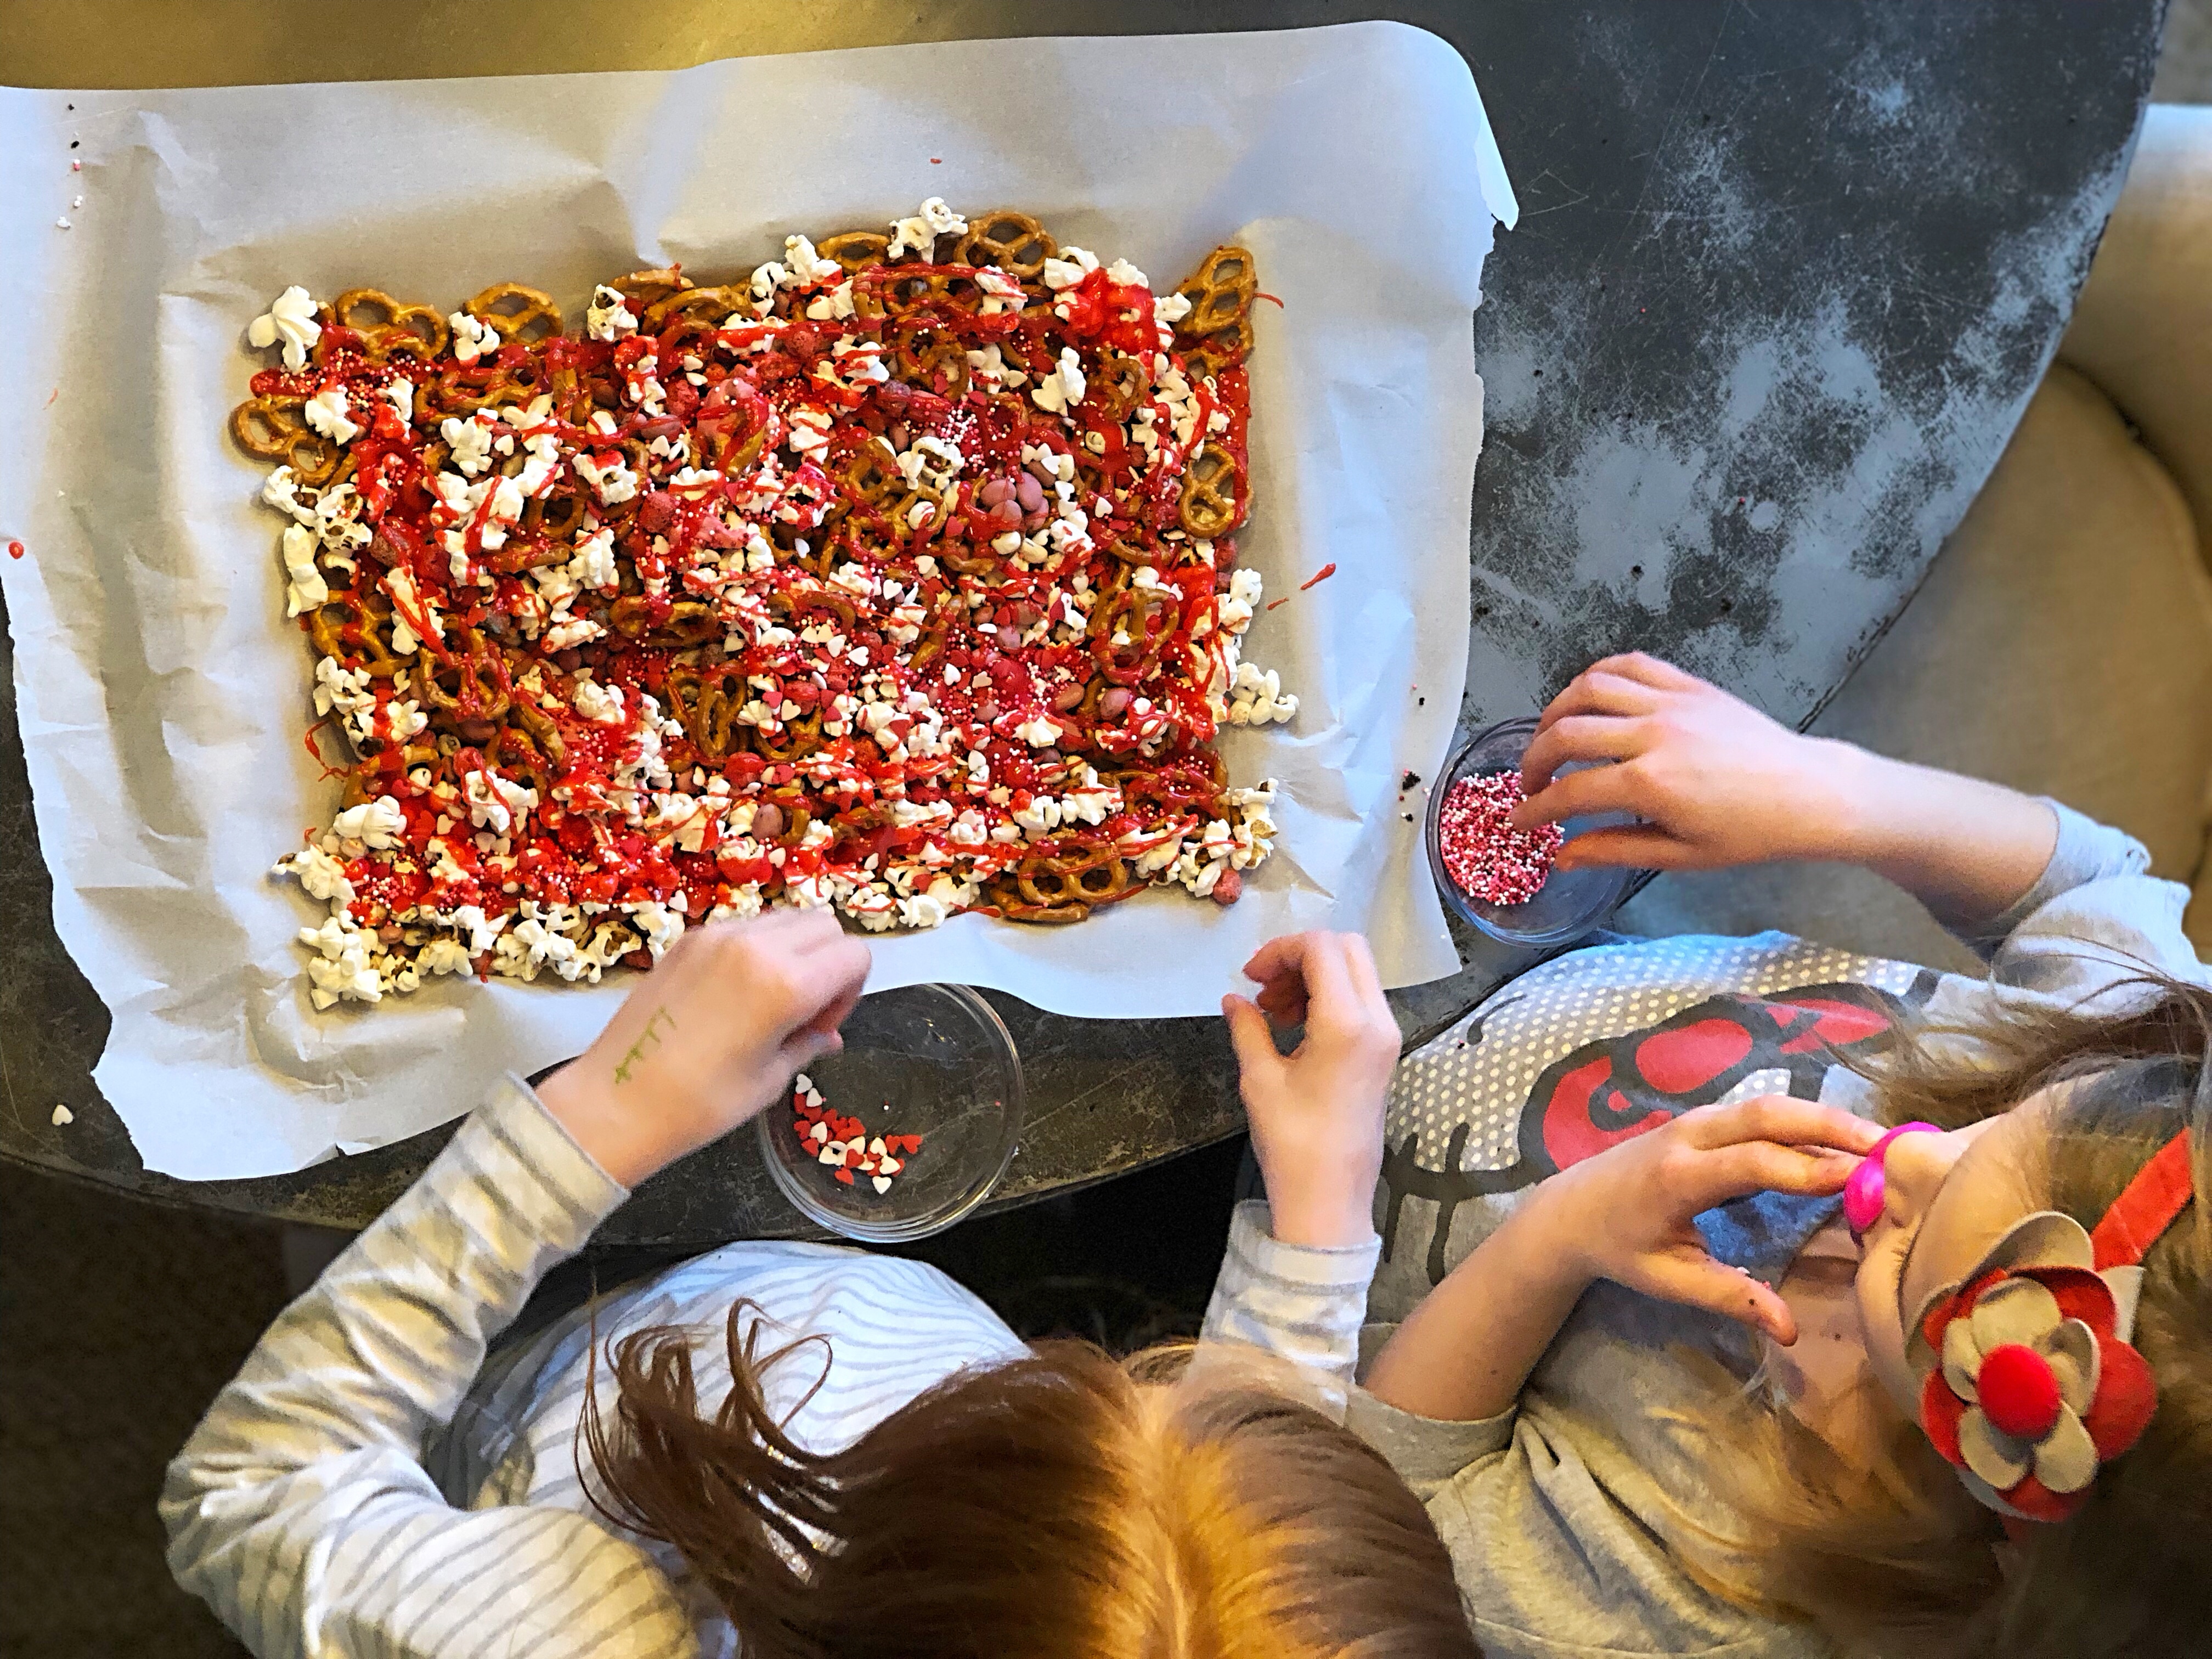
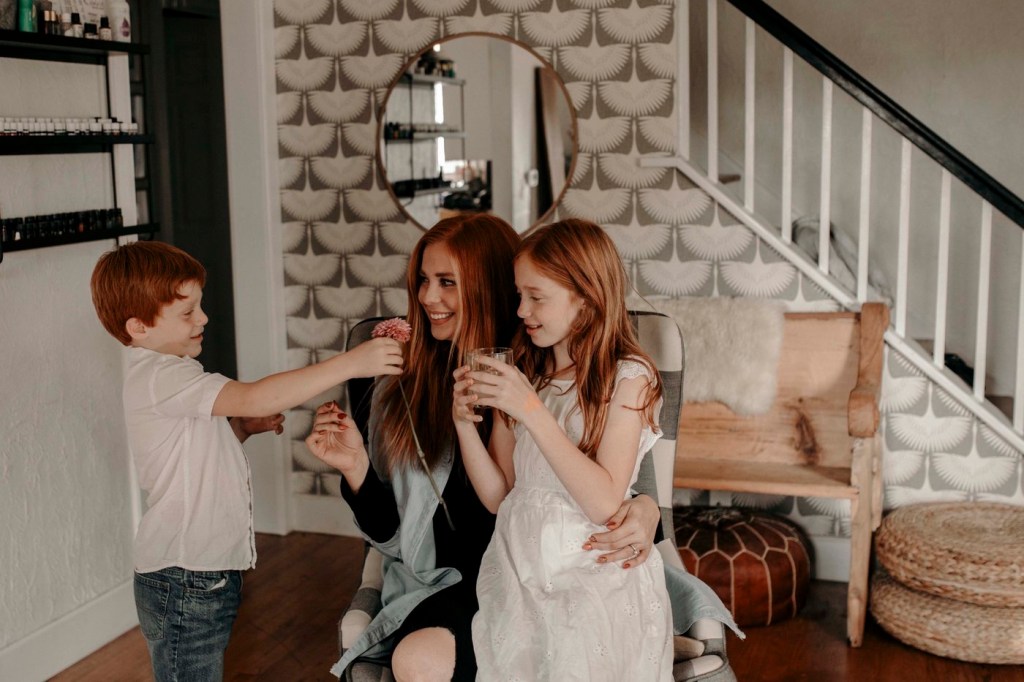
Hi everyone! It’s been a little over a month since I last blogged, but truthfully, nothing all that exciting or worth sharing as been going on. Not always a bad thing right? We spend the majority of our off time at home, snuggling in our den, next to a fire, watching all the movies we can. I even got Tyler to watch The Twilight Saga with me!

Today the sun is shining. Sun coming in my windows wakes up my soul and gives me energy that i can’t muster on most winter days. All I thought about was the kids coming home today from their dads and how much they love to cook with Mom. (Don’t let me fool you, I’m no top chef!) Anything I let them do in the kitchen gets those two so excited. I came up with a little mix of items and put this together for the children and their friends to enjoy.

This is an easy and festive Valentines Day Snack Mix that you can make with your kids and not make a giant mess. I honestly think this is the perfect Valentine’s Day Recipe for Class Parties! You can make this snack mix in a large bowl and use paper cups to scoop it for each classmate or you can package it into small valentine bags and boxes for a fun take-home treat!

You can mix and match any red or valentines themed edible items in your snack mix. I got creative and used a Box of Cap’N Crunch and picked out all of the red cereal from the box and then I picked up these Red Jumbo Hearts Edible Confetti Sprinkles on Amazon. I also grabbed some white candy chocolate melts, these can be purchased at just about any craft or baking supply store and used food coloring to make them pink and red. You can also get the Wilton Candy Melts on Amazon as an add on item for the same price as most stores. We added some popcorn, pretzels as well as yummy yogurt covered raisins!

INGREDIENTS

4 cups popped popcorn

2 cups pretzels

1 cup red cereal puffs

3/4 cup vanilla yogurt covered raisins

25 red candy melts (I used food coloring for both colors)

25 bright pink candy melts

Valentine Confetti Hearts

INSTRUCTIONS

In a large bowl, add popcorn, pretzels, cereal and raisins. Stir to mix well.

Spread onto a large baking sheet covered with parchment paper.

Melt one color of candy melts in a small bowl in the microwave for 30 seconds. Stir until melted.

Drizzle over baking sheet and sprinkle with nonpareils.

Melt the second color of candy melts and drizzle over the baking sheet and add the confetti hearts.

Let set for about 30 minutes or until candy melts are set.

Break apart snack mix and package into small bags or store in an airtight container until ready to eat.

There are so many cute ways you can package this up. You can do it in small treat bags, a cute Valentines Day tin, or serve in Valentines themed party cups for a party! You could also just put it in a big heart shaped bowl and let everyone grab a handful!

I’d love to know what other ideas you have for including in the snack mix! The sky is really the limit as far as what you can add.

As we let the snack mix dry, we brought out the watercolor paint and let them go to town on all the pinks, oranges and reds. We then cut their masterpieces into little heart shapes to give out to people whom they love the most. We are sending a few to Texas too that hopefully make Nana and Grandpas fridge 😉

As always, thank you for taking the time to read my blog. I hope everyone has a lovely week spent with the ones you love the most. ❤️

xo,

Blair

Life Lately |

I have not even thought about blogging since our engagement (hard to top that!)

Truthfully, we have been so extremely busy with traveling, family Christmas’ and trying to keep warm indoors from the below zero temperatures.

The children spent Christmas with their Dad this year. It was my first without them but honestly, I’m glad we were right where we were. This Christmas was much different than the “normal”. We traveled to Texas, to my cute little hometown nestled in the hill country to spend the holiday with my parents, sister and brother-in-law. We visited with all of my extended family and its the first I have seen most of them in over a year! Aside from this being a “different” Christmas without my babies, it was also the Christmas my sweet brother in law had to say goodbye to his mama. If any of you reading this know Otto, you know he literally is the most selfless, loving, and compassionate person. His entire family is just the sweetest. Seeing someone not only I care about, my little sisters partner hurt, was just heartbreaking. His mama lost her battle with the dreaded and awful “C word” on Christmas Eve. I am really glad that we were able to be in Texas to support for my sister and Otto when they needed it the most. Living away from family truly makes you cherish every freaking second with them.

We did have a really happy thing to celebrate while visiting, our parents celebrated 35 years of marriage y’all!! Honestly, they are the freaking best. I could not ask for better examples in my life than those two.

Since being home, we (Tyler and I) were off work and had the children for a week straight. It was literally THE BEST! We really did a whole lot of nothing and honestly, after the busiest month of the year, it has been very refreshing. The children got sleeping bags from Tyler’s dad for Christmas so we made a big “nest” on the living room floor and watched all the movies we could think of while keeping wood on our fire.

We spent New Year’s Eve this year having one big sleepover at our friends house. They live in a big farmhouse up on top of the hill that overlooks the river. Dan’s brother and his wife came over and the six of us stayed up until 2 am telling stories and enjoying each other’s company. Jen made her homemade meatballs and sauce and everyone played ‘Just Dance’ until we couldn’t laugh anymore!

I don’t have a ton more to update y’all on, I’m sure life will pick back up again soon and I can share some updates we’ve been doing to our home! (After I finished sweeping up allllll the pine needles!)

Caroline’s Bedroom Tour

Caroline’s current room inspiration began about 3 years ago when I purchased two rolls of THIS wallpaper from Anthropologie. It literally sat in my storage closet for about 2 years, dreaming of the day I could find someone to skim-coat my very textured walls and hang the beautiful peony paper. I really wanted to accentuate the roofline and highlight the architecture these little capes have in their upstairs. It can be challenging to fit furniture in these bedrooms, but we got creative and moved it around a dozen times before deciding on this bed placement. We chose to wallpaper the two walls with windows on them and I really am so happy with the decision.

So many of the items I use in this room are second hand. This bed has been around for years, and globe on her shelf (can you believe I scored that already pink shelf at Goodwill for $5!!) we both found second hand shopping (she loved it because some countries were purple!). I think previously loved pieces add a lot of charm.

Caroline loves that I put little Christmas decorations up in her room. We added live garland, THESE twinkle lights and some vintage bottle brush trees she found antiquing with her Nana.

When growing up, we never had multiple trees in our house or even personalized trees in our rooms, we always just had one big family Christmas tree in the living room, so these little touches to our bedrooms are newer to seasonal decor in our home. I think she told me thank you a million times that day. I love that she appreciates the small things and I believe that is what life is made for, making someones day.

I wanted to display some of the sweet items from when Caroline was a little chubby tot. I displayed them on her pink shelf. I’ve noticed it’s the first thing that she shows her friends when they come up to her room. There is a little cross stitch that my dad’s mom made for her when she was born, a picture frame of us on her first day of life, signed by people who came to see us at the hospital, that big pink hair bow that she’s worn in every birthday picture, her pink crystal pacifier, some piggy banks from family members, her first Bible and a beautiful antique rattle my dad gifted her.

This shelf floods me with all the feels and makes me happy I held onto these precious items.

Bedding HERE

Nightstand (Similar) HERE

Wallpaper HERE

Lamp HERE

TeePee HERE

Make sure to sign up to get my blog posts sent to your email box so you don’t miss a thing! Sign up  HERE on my home page.

Cozy Winter Master Bedroom Tour

I know, I know…you are thinking how can I possibly decorate our bedroom for Christmas but I promise you once you put a tree with those soft lights in it is hard to not welcome the cozy! The garland above the bed is real from a local flower shop that I LOVE and I would recommend adding some to your space for the scent! Our room is usually the gathering place anyways and at Christmas time it is even more regular. You will find kids watching Netflix, the adults napping or sitting in the massage chair, and always a cat resting under the bed.

Creating cozy spaces has been my thing lately. Embracing my small cape cod home and making every inch count. Imagine my delight when a few weeks ago I found out that my love of cozy had a name! Everywhere you look now you see the word Hygee (pronounced hue-guh not hoo-gah) and it is a Danish word used when acknowledging a feeling or moment, whether alone or with friends, at home or out, ordinary or extraordinary as cozy, charming or special. See, that thing we all love to create in our homes has a name and it is so important that the Danish make it a priority in their spaces.

This master bedroom is 26 x 12. It used to be two smaller bedrooms that the previous owners made into one, added a bigger closet, and put this beautiful exposed barn wood beam in the center of the room. We rearranged the room last year to accommodate a king size bed and two nightstands on either side (Bedroom set HERE). Tyler and I both really wanted a nightstand to not only have decent size lamps (THESE, worth the investment!) and clocks, but also hold a bowl of popcorn and a cup of coffee without being crowded.

My bedding is actually a few years old from Pottery Barn. It is a king size but I used it when we had a queen size bed (hence why I only have two euro pillows instead of three) so it would be longer on the sides. I’m looking into selling this set soon and changing it up a bit!

I love to add hygee to our spaces with layers with blankets (the cream chunky knit is from a new small business downtown called Ruby Rose Market linked HERE and the grey PB one HERE), candles (my current favorite HERE) the warmth and glow of the little twinkle lights (you can find mine HERE), something warm to drink and yummy to eat, creating gathering spaces where my favorite people have a comfy place to land. How about you? How do you create hygee in your space?